Category Archives: My Life

Dear Joey and Rory: Your Life Is a Song
If you’re a fan of country music, or an Indiana resident, you may have heard about the story of Joey and Rory Feek. They’re a husband and wife country duo that burst onto the national scene in 2008 after competing on CMT’s ‘Can You Duet?’ Since then, they have written numerous country and gospel albums and won the Academy of Country Music’s “Top New Vocal Duo” award in 2010. Rory has two adult daughters, Heidi and Hope, and the couple has a 21-month-old named Indiana.

Photo courtesy of Joey+Rory on Instagram.
Joey Feek has been battling Stage 4 cervical cancer. In June of this year, it was announced that her cancer had returned. She recently underwent surgery, radiation and chemotherapy, but the doctors told them there is nothing more medicine can do. So they made the decision to end her treatments and she is now in hospice care, spending her time with family in her hometown of Alexandria, IN.
As a fan of Joey and Rory’s, I have been following their journey, especially over the last few months, through Rory’s blog “This Life I Live”. It has been amazing to see their courage through this whole journey and the eloquence with which Rory talks about such a difficult situation. But his blog isn’t just about the sad parts of Joey’s illness. In fact, it’s the opposite. With every blog, Rory somehow finds the strength to be more inspiring to others, even if he doesn’t realize it.
The whole time during this heartbreaking journey, I have felt that I wanted to help in some way. Through cards, food, gifts, or even just a kind embrace, people from their local communities, and all across the country have already been helping Joey and Rory. But as I read each new blog Rory posted, the thought of finding some way to lend my support was still in the back of my mind.
So I decided to give the gift of words.
Dear Joey and Rory,
Written, spoken or sung, there is an amazing power in words. They can change your attitude, perspective, and even provide inspiration and strength.
It is my hope that these words can be a small gift to you in return for all of the powerful words you have shared with the world, and the words that inspired me to write this letter. It might not seem like much, but if it can provide even just a small smile to help brighten your day, I will feel like I’ve helped in some way.
A couple of weeks ago, the day after the town of Alexandria and the entire country music community held a nationwide prayer vigil in Joey’s honor, I decided to turn on Spotify and listen to your music.
After coming to your page, I hit shuffle and the first song that started playing was “The Life of a Song.”
I stopped instantly. I had never heard this song, but I was in pure awe as I listened to the words.
Me, I’m just a singer, though I may be well-known.
The truth is I’d be nothing without the power of a song.
I’ve been blessed with fame and fortune, oh but in the end
A song’s what I wish I could’ve been.A song lives forever and never, ever dies.
Sings enemies together and touches so many lives.
Words and melody will always be long after we’re gone…
Oh, how I wish I could live the life of a song.I could mend the broke and wounded, I could prove that love is real.
And take someone from China to a Carolina cotton field.
I could comfort every soldier, hum all the homeless home…
I could change the world if I was just a song.A song lives forever and never, ever dies.
Sings enemies together and touches so many lives.
Words and melody will always be long after we’re gone…
Oh, how I wish I could live the life of a song.There’s an end for me, it’s my destiny.
But this song will carry on…and it’s just three minutes long.
Oh, how I wish I could live the life of a song.
Oh, how I wish I could live the life of a song.
Even though this song was published in 2008, all I could think after listening to it is how true the words were for what you’re going through today. But there’s one major difference. From where I’m sitting, you are already living the life of a song. Your song.
Your music has touched so many lives and your ability to tell your story through song is simply astonishing. No matter what happens and when your end actually comes, (even though I hope it’s a long time from now) have comfort in knowing that you have been doing what you were put here on Earth to do…writing and performing these inspirational songs to make a difference in this world and help the rest of us. And as the lyrics say above, your song will carry on forever.
Even though God has his timing for everything, it is my wish that you can continue to be here on Earth and make music for many years to come. This morning, I was on Facebook and came across your latest blog about Christmas time. Christmas is also one of my favorite times of year and your words brought me back to some of the great Christmas memories I’ve had over the years.
After I finished reading, I continued to scroll down the page and happened to come across this clip from the Ellen Degeneres Show. A 16-year-old girl from Toledo, OH was battling ovarian cancer and performed Rachel Platten’s “Fight Song” during a talent show. Ellen saw this clip and brought her on the show, where she actually performed the song with Rachel live.
Joey, I couldn’t help but think of you during their entire performance. Through Rory’s eyes, I have been able to see how strong you are, but sometimes we all need a little “fight song” to get us through things. I hope this can give you a little added strength and inspiration as you continue on this journey.
Please know that I am praying for you both and hope you have a wonderful Christmas.
Love,
Chelsea

Share this:


Blogging, the Struggle is Real.
Six months. It has almost been six months since I posted my last blog on BoilermakerAg! How did that happen?
As a blogger, I am ashamed that I’ve been quiet for this long. “One blog a month isn’t hard,” I tell myself. But then somehow time just slips by.
On the flip side of that, I’ve had a ridiculous amount of things going on lately. I’ve been working a lot more hours than normal, traveling a lot for work and family, my sister got married, other friends have gotten married and numerous other events like 4-H fairs, birthday parties, and baptisms. So when I get free time from everything, I just feel like I need a break, ya know?
But then I go back to…”all of your other blogger friends are just as busy as you, if not more, and they somehow still find time to blog. Get yourself together, Chels.”
Sometimes it gets to that point where I have so many ideas for blog posts, but can’t decide where to start. I debate back and forth and then end up wasting the time I had to start one.
Or I get good old fashioned writer’s block and can’t start one at all.
THE STRUGGLE IS REAL.
Does anyone else get like this?
As I was listening to a radio program the other night, someone said, “you have to make writing a discipline.”
And it hit me like a ton of bricks…I have failed to do that lately. I’ve only been blogging when I get inspired and have time. (Which isn’t very often on the time part.) Or when a deadline is due at work.
So I decided this morning that I would just start writing. Even if the writing is just about my struggle to write. It’s at least something.
As this year continues, I want to be able to blog more, but I also don’t want to end up more stressed trying to make it happen as I’m dealing with enough at the moment. But I do want to continue to share the message of agriculture, great recipes, and other topics with you.
Maybe this is a bunch of rambling you don’t care to read, but you all have been loyal to read my posts and I don’t want to leave you in the dark or let you down.
So I’m going to try a little experiment. Here are several things that I’ve been doing this summer, and I’m going to let you vote on which ones I write about. Will you help me do that? Having a little direction might help me get back in the swing of things.
1. Food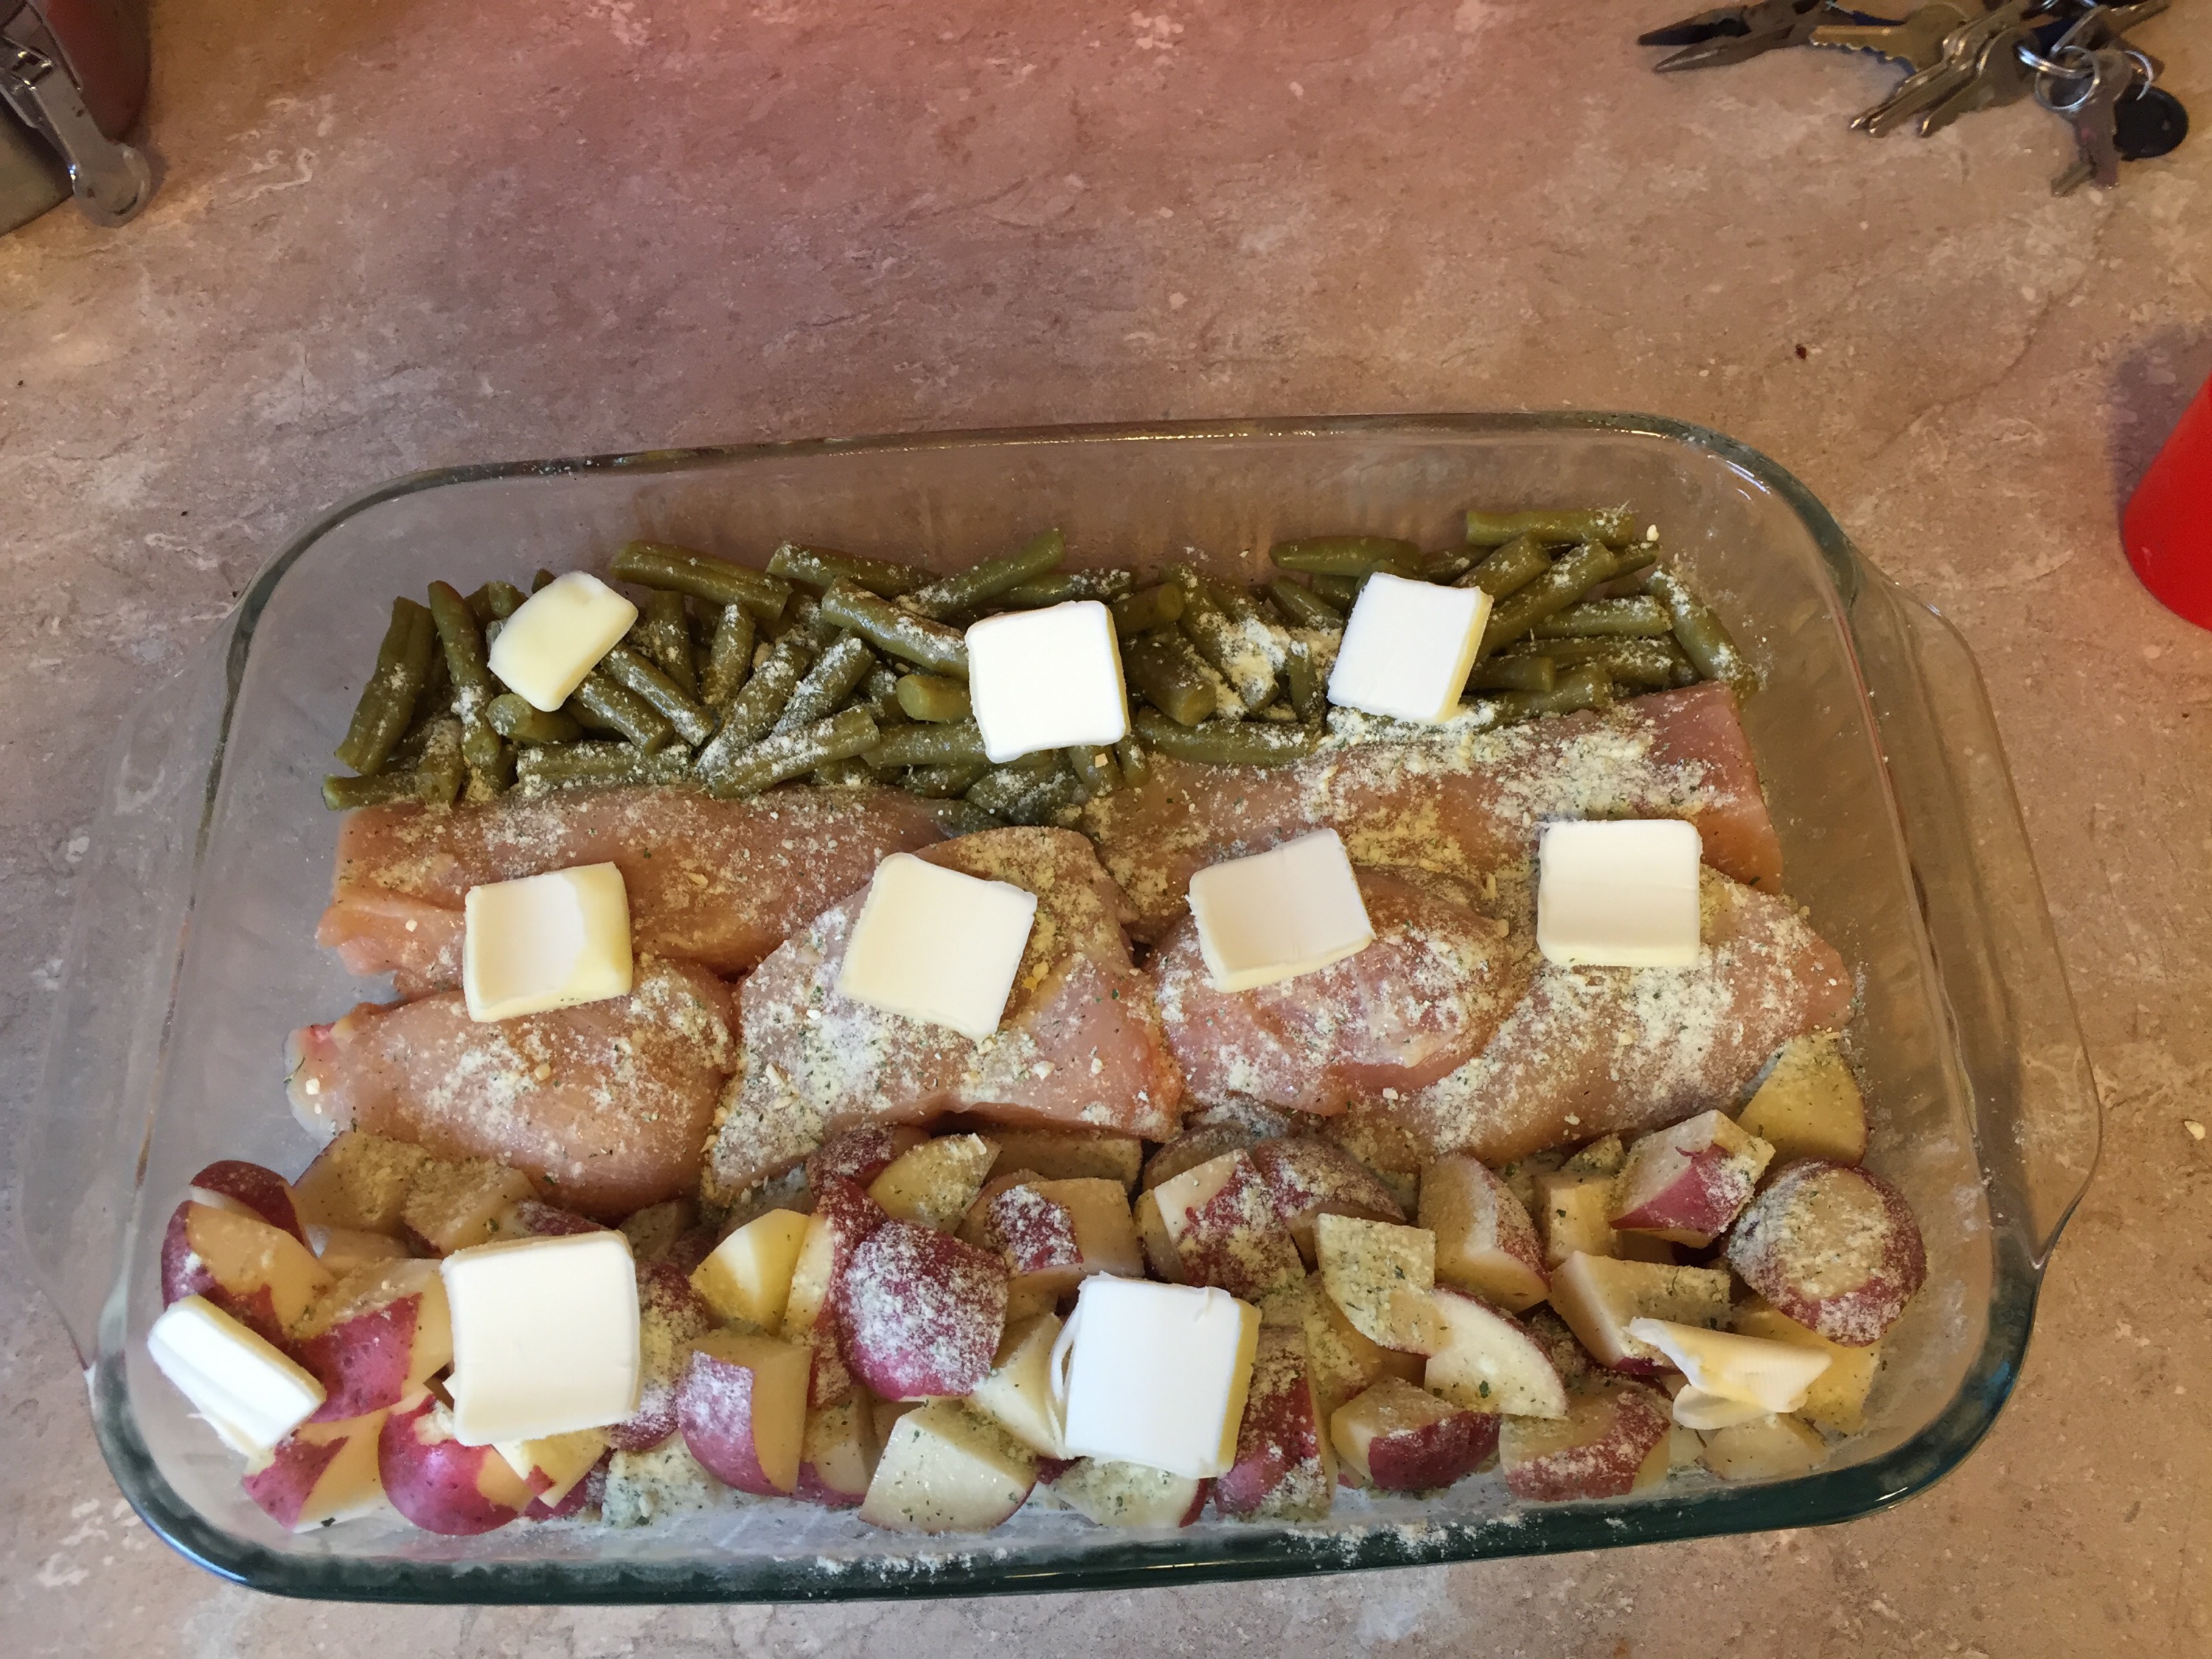 Ranch Chicken Bake
 Parsley Pasta Alfredo
 Pickled Cucumber Tomato Salad
 Cannoli Dip
 Chicken Salad
2. Planning my sister’s bridal shower!


3. 4-H Judging


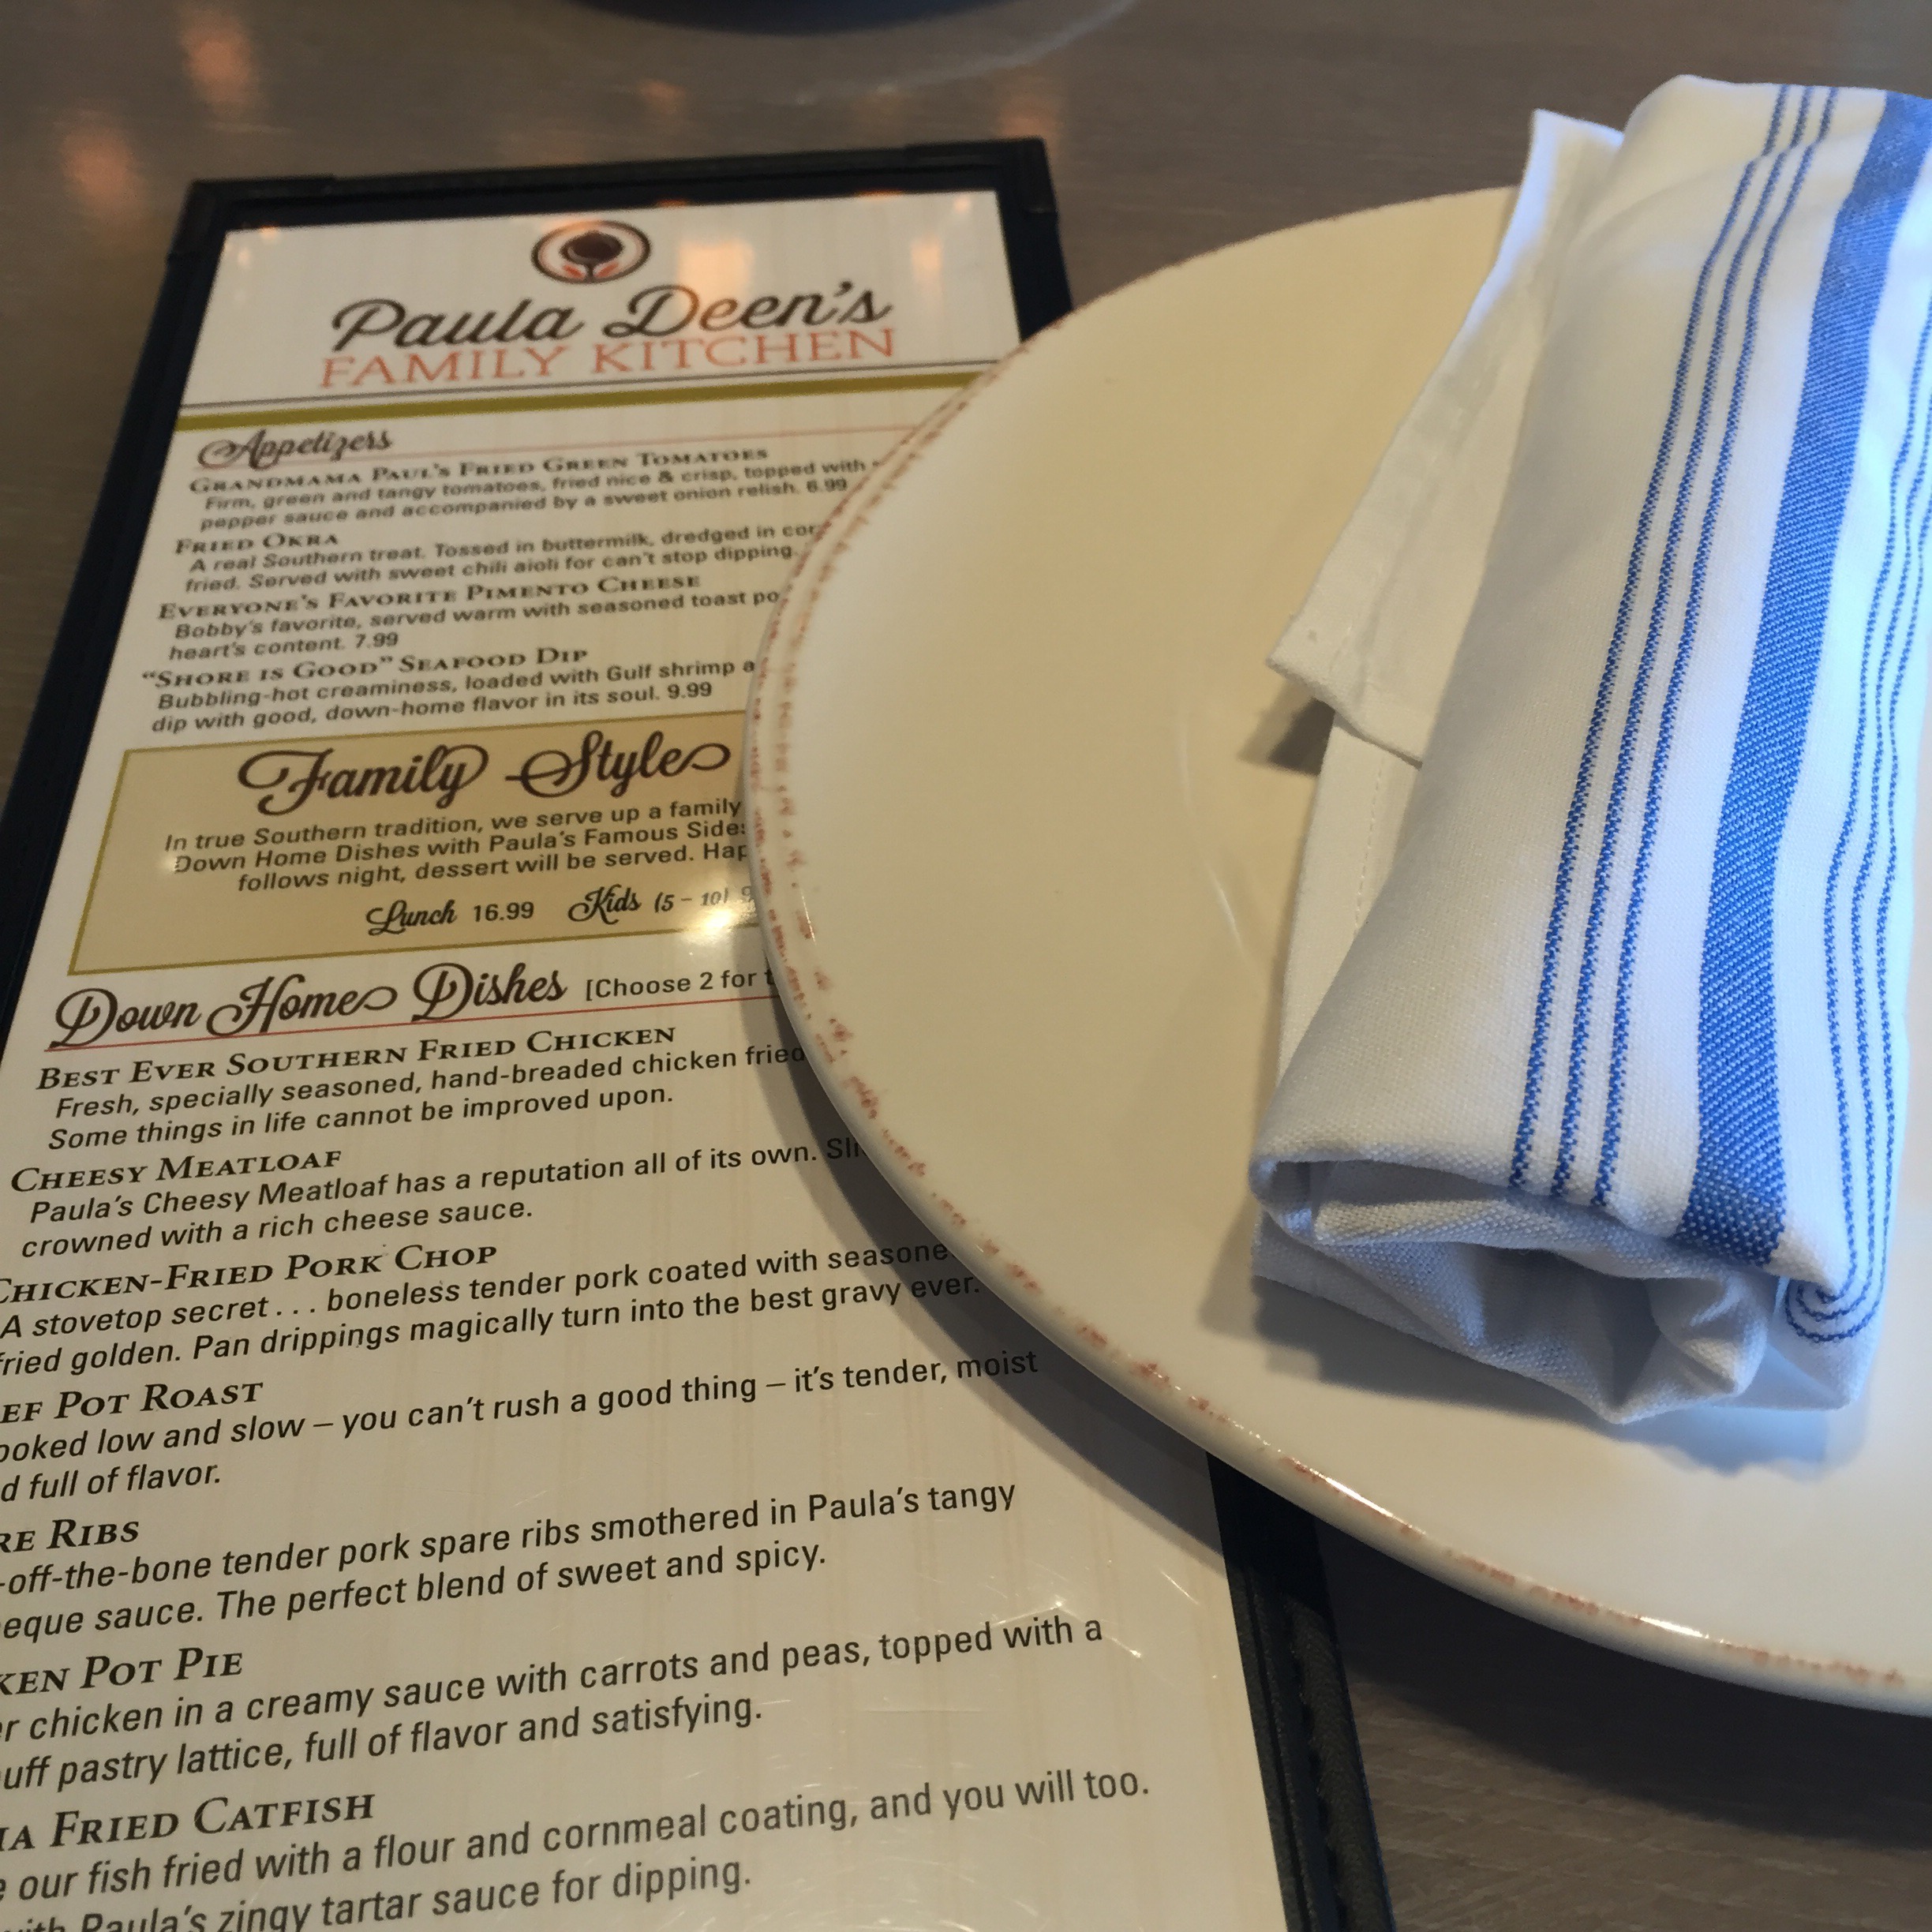
4. Anniversary Trip to Gatlinburg, TN


5. Year of the Farmer at the Indiana State Fair

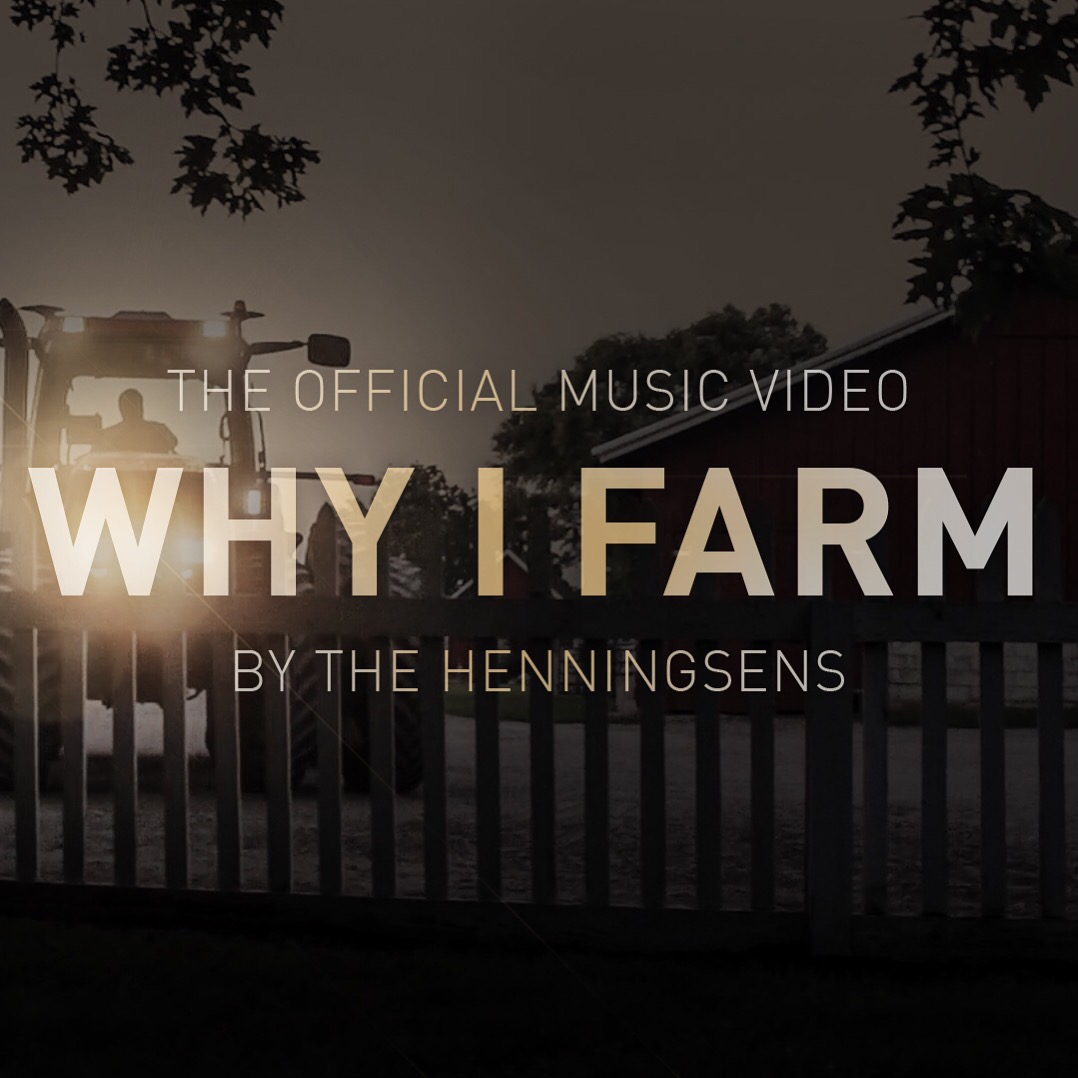
6. Spreading the word of agriculture through Why I Farm and The Henningsens
See my struggle with where to start? There’s so much to choose from!
Help me out by sharing your vote in the comments. Or if you have any other topics you’d like me to cover, feel free to leave your ideas.
I look forward to your votes!
– Chelsea
Share this:


In Honor of Pi Day: Cushaw Squash Pie
I originally wrote this post for my contribution to RuralHousewives.com back in November, but never got around to posting it on this blog. Well, today is the day. It’s Pi Day! And what better excuse to honor this special “Once in a Century” Pi Day than with a special pie recipe!
In case you forgot since freshman geometry class, Pi (π) is the ratio of a circle’s circumference to its diameter. Pi is a constant number, meaning that for all circles of any size, Pi will be the same. The diameter of a circle is the distance from edge to edge, measuring straight through the center. The circumference of a circle is the distance around. *
Today is a very special Pi Day that comes but once in a century. The date, 3-14-15 will be the only time before 2115 that the date reflects five digits of the magical, infinite number, 3.141592653… Oh and be sure to note the time 9:26:53 this morning and night, when even more digits will match pi!**
The star ingredient of this pie (which is very special to my family), cushaw squash, is grown in the fall. But you can stick this recipe in your recipe box and save it for when fall rolls back around! Hope you enjoy!

NOVEMBER 11, 2014 — During the fall, the typical star ingredient is pumpkin. And there are pages upon pages of recipes for it. But as this Thanksgiving approaches, I wanted to feature a unique ingredient that is sure to win the rookie of the year award at your Thanksgiving table…squash! But this is not just any ole’ squash recipe, it is my family’s traditional Cushaw Squash Pie!
“Squash pie?!” you might be asking. “That sounds awful!” Well let me tell you, it’s anything but awful! It could win over pumpkin pie any day in my book.
To me, squash pies are a familiar family favorite and are the star of the show every Thanksgiving. But as I’ve gotten older it seems that few people know about them!
As I started thinking about it even more, I realized that I hadn’t had much experience making them. That was always Grandma’s job! So when I was home this weekend I took the opportunity to spend some quality time with my wonderful grandparents and learn exactly how to make one of our favorite family recipes.
And since this recipe is just SO incredibly good, I am going to share it with you too!
Before we get started, I’ll give you a little more background on what cushaw squash actually is.

Cushaw squash – “wait, that’s not just a gourd?”
The green-striped cushaw is a crookneck squash that typically weighs 10 to 20 pounds and grows to be 12 to 18 inches long. The skin is whitish-green with mottled green stripes and the flesh is light-yellow. It is mild and slightly sweet in flavor; meaty in texture and fibrous.
It is sometimes called “cushaw pumpkin” and is often substituted for the standard, orange, jack-o-lantern pumpkin in pie-making.
Cushaw is mainly grown in the southern and southwestern United States. It is a hardy plant, one that tolerates heat and resists the deadly vine borer; can be grown easily in vegetable gardens, and it can be stored for an unusually long time. While the green-striped cushaw is not endangered per se, it tends to be grown in small batches for private use, and is not widely available in retail markets. Although widely known, the cushaw is a favorite ingredient in a few culinary cultures, including to some southwest Native Americans, to the southern Appalachians, and to the Louisiana Creoles and Italians.
Making cushaw butter is a family tradition in Tennessee, and all around Appalachia cooks prefer to use cushaws in their pumpkin pies.
This squash pie recipe has been passed down from my great grandma, Mary Alice Griffin (“Grannie Griffin” as we refer to her), who grew up in Blackford, Kentucky. And according to my grandma Patsy, aka “Grannie Pat”, it may have even been passed down from Grannie Griffin’s mom, Florence.
My mom and grandparents recently took a trip to Blackford to revisit some of the places grandma and great grandma grew up and it was incredibly fascinating to learn about! I wasn’t able to go, but my mom captured some wonderful pictures to keep as memories of the trip and our family’s history.
Veteran’s Day
As I was writing this, I remembered that today is Veteran’s Day. I wasn’t sure at first if I was going to be able to incorporate that into my post about squash, but as I was looking back through the pictures my mom took, I was reminded that Blackford, KY also has a wonderful Veteran’s memorial!
That was the perfect sign that I couldn’t, and shouldn’t, go without recognizing its significance in my post.

My grandpa Jim, or “Gramps” as I like to affectionately call him, was a veteran of the Korean War and was also along on the trip to Blackford. He enjoyed looking at the bricks in the memorial and even found one of my Grandma’s uncle, Major!
Family and history have always been important to me, but I think I have come to appreciate them even more as I get older. And one thing I try to always remind myself is that our country is what it is today because of the people who have come before us and worked to build it.
So today, this post goes out to the Veterans in my family as well as all of the brave men and women who have fought, and are still fighting, to keep our country safe. From the bottom of my heart I want to say, THANK YOU.
Squash Pie with Grannie Pat
This past Saturday I invited Grannie and Gramps over to my parents’ house and got a lesson in Squash Pie making – straight from the pro. My sister was there to help document the day with pictures, allowing me to fully concentrate on learning all the tips and tricks. And my dad, well, he was just there to be the taste tester. 🙂 It was such a fun afternoon!
Alright, now let’s get down to business. The first step is to cook you squash. This can be a little bit of a process so be sure to plan in advance. I found a great tutorial on how to cook cushaw squash from The Novice Chef, but my Grannie Pat’s way of doing it seems even easier!
Step 1: Cooking Squash
Begin by washing one cushaw squash. Cut the neck of the squash off and cut into slices, (like the Novice Chef suggests). Then, cut the main part of the squash inhalf and scoop out the seeds like a pumpkin. Once that is done, cut the squash into large chunks. Here’s the difference in this technique – DON’T worry about peeling the squash before you cook it. And trust me, you’ll be glad you don’t have to worry about it because peeling a squash like this is a pain!

Cook the squash in boiling water until the pulp of squash is soft. Let cool and the peel will slide right off. Once the peel has been removed and the squash is cool, place it in a food mill, food processor, or blender and puree until smooth. This creates the pulp for the pies.
(My mom had several bags of squash pre-cooked so we didn’t do the whole cooking process during this lesson, but it seems pretty straight forward.)
We store the pulp in Ziplock bags in the freezer. This can be kept up to three months or you can also can the squash to save for the whole year! We can it in chunks, not as a puree.
Step 2: Make Crust & Prep Pie Plate
Since we were going all out for this example, we decided to make homemade crust, but if you’re in a hurry, store bought pie crust will be fine as well. Grannie said that’s all she ever uses now days!
Grannie Pat Tip #1: Before putting your pie crust in the pan, rub some butter around in the bottom of the pan and it will prevent the crust from sticking to the bottom.
Place your pie crust on your pie plate. Since we were rolling our dough out, we rolled the crust up on a rolling pin to help keep it in good form as we transferred it to the pan. Make sure to press your crust down around the entire bottom of sides and so you’re not short when you cut the excess crust off the edges.

Once you have your pie crust positioned, cut the excess crust off around the edge of the pie plate. And I always like to add a decorative little fluted edge around my pies just for presentation.
Step 3: Preheat Oven and Make the Pie Filling
Before you start with the filling, remember to preheat your oven to 350 degrees.
For the filling, start by breaking two eggs into a large mixing bowl and add 1 ½ cups of sugar. (The original recipe calls for 1 ¼, but Grannie Pat always adds extra.) Beat until smooth and then add in your squash pulp.


Grannie Pat # 2: If you want to make great big thick pies, just double the recipe for the filling.
Next add in the milk and vanilla. For this, Grannie says it doesn’t hurt if you put more than the recipe calls for so just eyeball it. In this case, I added about ¼ teaspoon more that the recipe says. Depending on your strength of vanilla extract, this can be increased or decreased.

I was using our local town’s specialty, Grandpa Derr’s Vanilla Extract, which is a little bit stronger than most varieties so I didn’t add too much over.
And finally, you’re going to add a thickening agent of flour and water, (also known as a roux). To do this, get a little bowl and put 2 Tbsp of flour into a ¼ cup of cold water. Sometimes she just guesses at it without really measuring. Keep mixing it with a fork until all of the flour is dissolved in the water.
Grannie Pat Tip #3: The more of this you put in the faster it bakes and the thicker it gets. Grandma usually doubles it and decreases the baking time if she’s in a hurry.
Once dissolved, add to mixture and beat a little more until combined.
Step 4: Building Pie and Baking:
Before you pour the filling into the crust, I have one awesome little secret for you. This one comes straight from Grannie Griffin. Her trick was to sprinkle the pie crust with some sugar before you pour anything in. Her reason, not sure. But why not?


Pour the filling into two unbaked pie crusts and sprinkle the tops with cinnamon and nutmeg. (Grandma does more cinnamon and less nutmeg.)


Then place in the oven for at least 45 minutes. Grannie Pat’s original recipe says to bake for 15 minutes at 425 and then reduce to 350 until set. But depending on your oven, you may want to just watch it to see what works best. And be sure to keep checking them to see if they shake.
Grannie Pat Tip # 4: You need the right amount of shake! They’ll still shake when they’re done, but you just have to keep watching them. (This comes from years of practice so until you become a pro at identifying this shake; you can stick a knife down in the pie to test it. When the knife comes out clean, the pie is done. If filling is left on the knife, keep baking for a few minutes.)
Once the pies are done, let them completely cool on a cooling rack before serving. This allows it to fully set up and obtain the consistency of the familiar pumpkin pie.
Serve with cool whip and store leftovers in the refrigerator… if there are any. 🙂

This blog was longer than I normally write so if you’ve made it this far I want to thank you for taking the time to read about my family’s history and this recipe that is so special to us.
I hope you have a wonderful Thanksgiving celebration with your family and I’d love to hear if you decide to add our squash pie to the menu!
Full Printable Recipe: Cushaw Squash Recipe
Photos courtesy of Ali Nord and Becky Nord
*Information courtesy of http://www.piday.org/learn-about-pi/
**Information courtesy of http://www.usatoday.com/story/news/nation-now/2015/03/14/pi-day-kids-videos/24753169/
Share this:


Christmas In The Country: Gift Exchange Reveal
A few weeks ago I shared that I was going to be participating in the Christmas In The Country Gift Exchange and today I get to reveal what I received from my secret Santa, as well as what I sent as my gift to Darcy!
The gift that I received was from Amber Rugan of A Gentle Word. Amber is from Kansas and writes about faith, family, food, farming, fun and photography. I wasn’t familiar with Amber’s blog so I was looking forward to meeting someone new and learning more about her!
Amber’s Secret Santa gift to me came in two stages. First I received this large box on my doorstep which contained a real Christmas wreath from Delp Christmas Tree Farm, a local farm in her area. How neat!
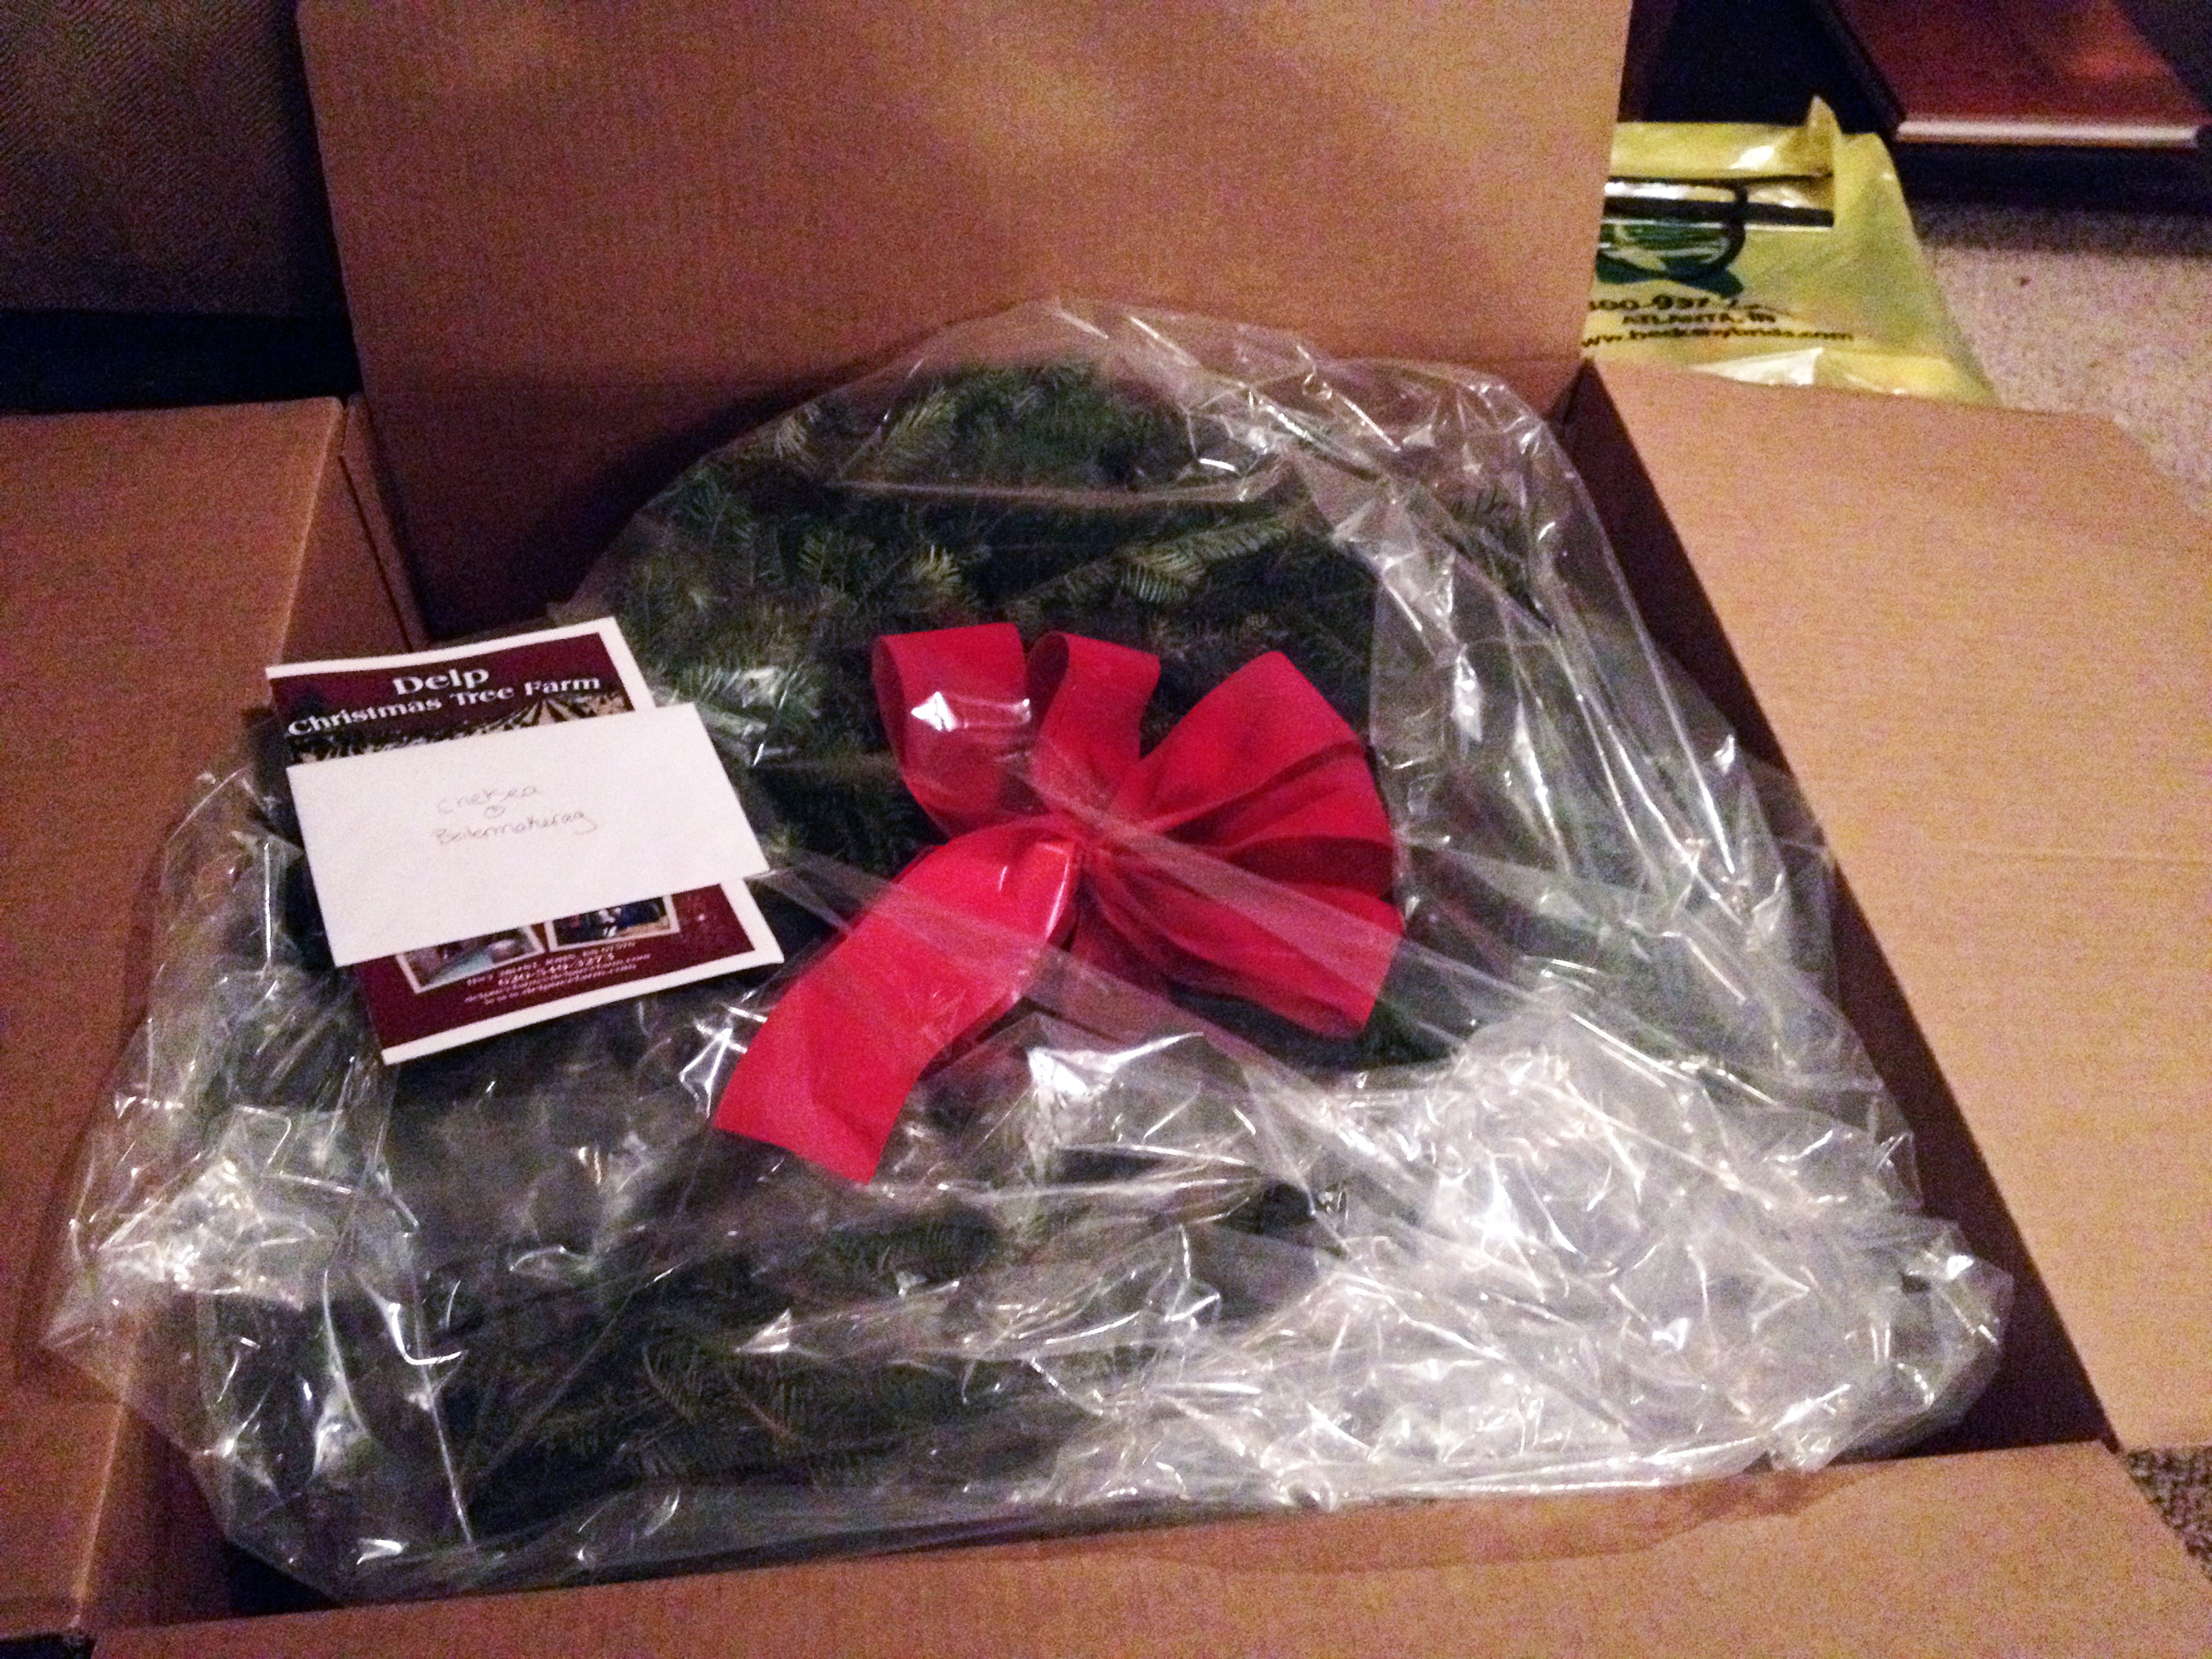
We always had a real Christmas tree when I was growing up so this was a nice little reminder of home for the holidays. She later revealed that she tried to send me a wreath with Purdue colors but it didn’t work out. (That would have been awesome though!) But the wreath she ended up sending worked perfectly and was right in time to add some more festive decorations for the Christmas Sweater Party we had at our house!

The box the wreath came in didn’t have much description of who it came from besides her name so I was intrigued to learn more! A week or so after that I received Amber’s second package. It included a very sweet note sharing more about her and the story behind her gifts, some cute mini jars with mints in them for me to share, a package of M&M’s to share, a blog ornament and the infamous Christmas Gift Exchange lump of coal! (I’ll explain more about that in a minute).
Amber joked that the blog ornament was tacky and it was the only one that she could find. But I think it’s just perfect. I’ve never even seen a blog ornament before so great job to you, Amber, for even finding one! 🙂 I already have it hanging up in my office at home!

Alright, now for the story behind the lump of coal. Back in 2013, this bag of coal was gifted to Amber as part of her Gift Exchange present by Colby Miller of MyAgLife.com. It serves as a light hearted reminder that coal-deserving sin places us on Santa’s naughty list. But thankfully, naughty boys and girls are offered the gift of Jesus.
In reading the tag closer, I realized it is actually a bar of soap colored and scented like real coal, but what a creative reminder about the real reason for the season! You can read more about Amber’s experience of receiving the coal here. On the back of the tag it has the history of where this coal has traveled each year so my job now is to keep it and pass it on to someone next year!
Thank you Amber for all of your creative and thoughtful gifts! I truly enjoyed them and am grateful for the opportunity to meet and learn more about you. I hope you and your family had a wonderful Christmas and New Year and I look forward to keeping in touch!
________________________________________________
The recipient of my Secret Santa gifts was Darcy Sexson of Success is Reason Enough from Oregon! I had never been to Oregon so I had to do a little research on her blog to find out what type of things she might like.
I wanted to send her something local, something fun, and something homemade. I started with a cute calendar from a local shop that featured images from Indiana. Then, in reading Darcy’s bio, it said she isn’t a huge fan of cleaning (who is, really?) and ended up finding the perfect little decoration for her! And my homemade item was an arm-knitted infinity scarf!

I was really proud of this one because it was my first attempt at making one. It wasn’t the easiest of project at first, but it turned out great once I got the hang of it.

I was really excited to see what Darcy thought of my gifts and based off of the sweet thank you card she sent me and her gift reveal blog, she loved them! You can check out her response and learn more about her here. Glad you enjoyed your gifts, Darcy! 🙂
Finally, I want to say thank you so much to Robyn at The Ranch Wife Chronicles, Jamie at This Unchartered Rhoade, Laurie at Country Linked, and Erin at Diaries From the Dirt Road for hosting and organizing this fun event!
To see all of the other bloggers who participated, click on one of the host’s links above for the link up!
~Chelsea
Share this:


Christmas in the Country Gift Exchange
After two wonderful days of family time, eating, and Black Friday shopping (which my waistline and sleep pattern are still recovering from), I’m already starting to get into the Christmas spirit!
The Christmas season is my favorite time of the year, for many reasons. First, we celebrate the main reason for the season, the birth of Jesus. Second, I also get to celebrate a unique connection with this because I get to share my birthday with Him! That’s right – I’m a Christmas baby! And third,we get to celebrate family and friends by giving thoughtful gifts of love and appreciation.
I always love trying to find unique and thoughtful gifts that my loved ones will enjoy. And this year, I’m excited to give another gift of appreciation to one of my fellow Ag Bloggers by participating in the Christmas in the Country Gift Exchange!
Here’s how it works: Christmas in the Country is a Christmas gift exchange for Agriculture Bloggers and Agvocates hosted by Laurie from Country Linked, Erin from Diaries From the Dirt Road, Jamie from The Uncharted Rhoade, and Robyn from The Ranch Wife Chronicles. It is a great way to get to know bloggers/friends of agriculture across the country and engage with others who have the same interests as you!
But don’t worry – you don’t have to be a blogger to participate, just a lover of all things agriculture and country!
Sign ups go until TOMORROW, November 30th. To sign up all you have to do is fill out a quick form giving us some very basic information about yourself. They ask for a mailing address so that your secret Ag Friend can send you a special Christmas surprise, your email address and give us some of your likes and dislikes. And they share some of this information with the individual who has your name and you in turn will receive the same information for someone.
- You will receive the name and information of who you will be sending a gift to on December 1st. (Please email one of the hosts as soon as you have done so as we will be keeping track that everyone who signed up sends and receives a gift.)
- All gifts need to be sent by December 17th to ensure delivery before the holidays.
- If you are a blogger, then join us on January 7th for a Link-Up party. Write a blog post about what you sent, who you sent it too, what you received and who you received it from. This is where the real fun begins! They loved seeing the fun and creative things that everyone came up with to send to each other, especially the ones that sent things from their region or area of the country.
If you’d like to join me in the Christmas in the Country Gift Exchange, sign up here! And don’t forget, sign-ups end TOMORROW!
I can’t wait to find out who my person is and I’m excited to start shopping for my gift! Today is also Small Business Saturday so I’m planning on trying to find some unique Indiana products to include in my gift! 🙂
Do you have any ideas of neat Indiana things I could include in my gift box?
I’d love to chat more, but I have to go get ready to go shopping. I hope all of you had a wonderful Thanksgiving celebration with your friends and family and spent some time reflecting on the many things we all have to be thankful for!
Love and Holiday Blessings,
~Chelsea
Share this:


My Past Few Months: Married, Mexico, and Making Things By Hand
Oh hey. Remember me? I’m still here! I know the blog has been a little dormant lately, but I’m hoping to be back to normal with blogging soon. Until then, I thought I would at least give you a quick update to what I’ve been up to lately, because a lot has been going on!
I guess the best place to start would be this little thing called my wedding. That’s right, I GOT MARRIED! After being engaged for around a year and a half, it was so exciting for our big day to actually get here!
As might be expected, it was a little stressful planning the wedding from out of town, but thanks to some big help my family and bridal party, the whole day was absolutely perfect! Surrounded by our wonderful family and friends, T and I became husband and wife.

It was such a happy, emotional, and fun day. But boy did it go by fast! I’m so thankful that I had the wonderful Abby of AK Photography there to capture moments in time and the talented Jenna and Felicia to capture everything on video!
Maybe in a future post, I’ll share more photos and details about our big day, but for now – here’s a sneak peek!
Tyler + Chelsea – Wedding Trailer from Jenna James on Vimeo
Aren’t those girls seriously talented? The whole day felt like an absolute fairy tale, and this video captures it perfectly. And this is only the teaser! I can’t wait to see the whole thing!
After the wedding, we headed off on our honeymoon! And let me tell you, after being in “wedding mode” for 18 months, a whole week of nothing but sun, food, and relaxation was just what the doctor ordered.
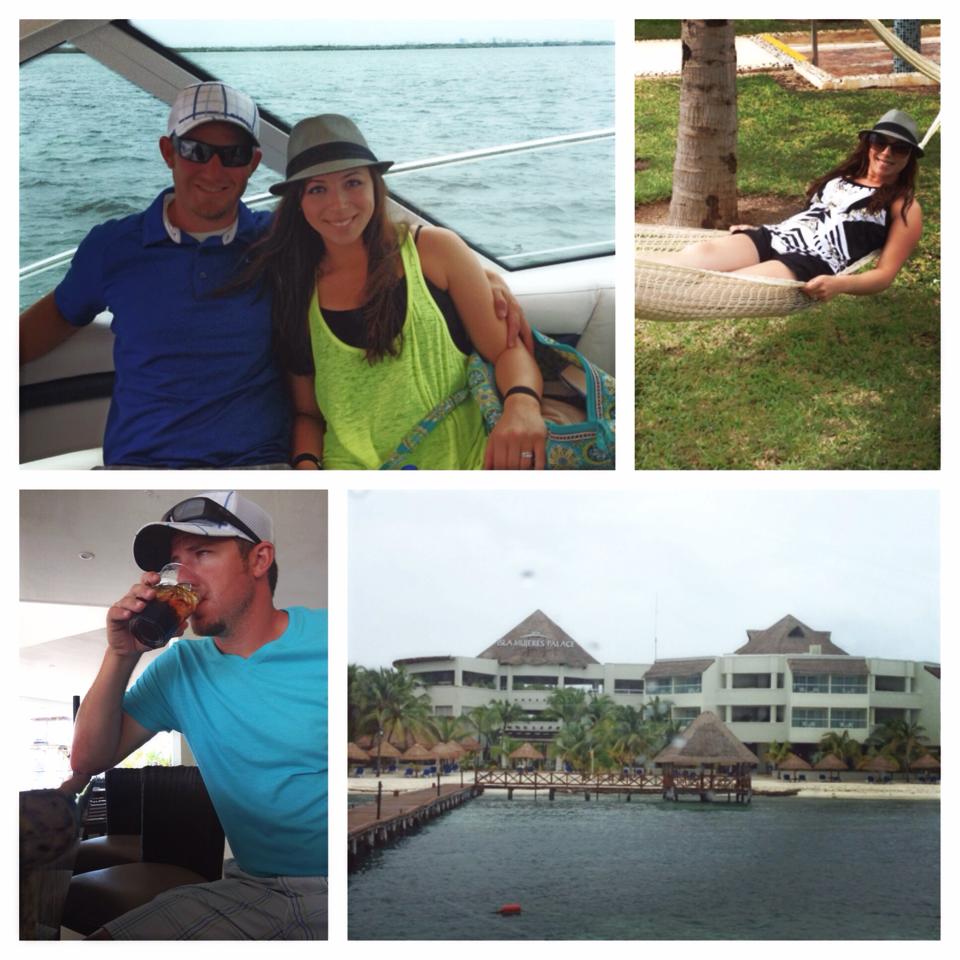
Isla Mujeres – I want to go back already!
We were sad to leave this wonderful paradise, but we were looking forward to settling back into normal life. Wait, not quite – next up was reorganizing the house and writing wedding thank yous! – Which are almost on their way, wedding guests! 🙂
Besides getting back on track with normal life, I also had to catch up on everything that happened at work while I was gone. And let me just say that a whole week and a half away from the marketing department at Beck’s might as well be an eternity with how much takes place in our world over that amount of time!
And speaking of work, I have been keeping my blogging skills up to par by posting to my “Family and Farming” column on the Beck’s Blog. Here are some of the things I’ve been sharing:


I had a lot of fun making these recipes and sharing my memories so I hope you’ll check them out!
Well, there’s so much more to share, but I have to squeeze in a little sleep here and there so I’m calling it a night. But I hope to be back again soon! Hope everyone has a wonderful week!
~Chelsea
Share this:


Lady Braves Tie State Record For Consecutive Softball Sectional Wins – What’s Their Secret?
Spring is one of my favorite times of the year for many reasons, but one in particular is – softball season! From the time I was five years old until my senior year in high school, I put on my cleats and picked up my bat each spring excited to start the season. I still do, and always will, love softball. (Even if the only softball action I get these days is our local slow pitch league) 🙂
There’s just something about the smell of a new glove, the crack of the bats, and the dirt-stained uniforms from a game or practice that always bring back good memories.

Photo courtesy of Summer House Studios – Becky Nord Photography
In fact, some of the best memories for me came during tournament time. Beginning this week, teams all across the state of Indiana are going head-to-head on the journey to the state tournament, starting with sectionals.
And today, I have to give a shout out to my high school alma mater, the Tecumseh Lady Braves, because their win last night brought them to 11 CONSECUTIVE sectional wins (2003-2013)! That ties the STATE RECORD in ANY class! What an awesome accomplishment!
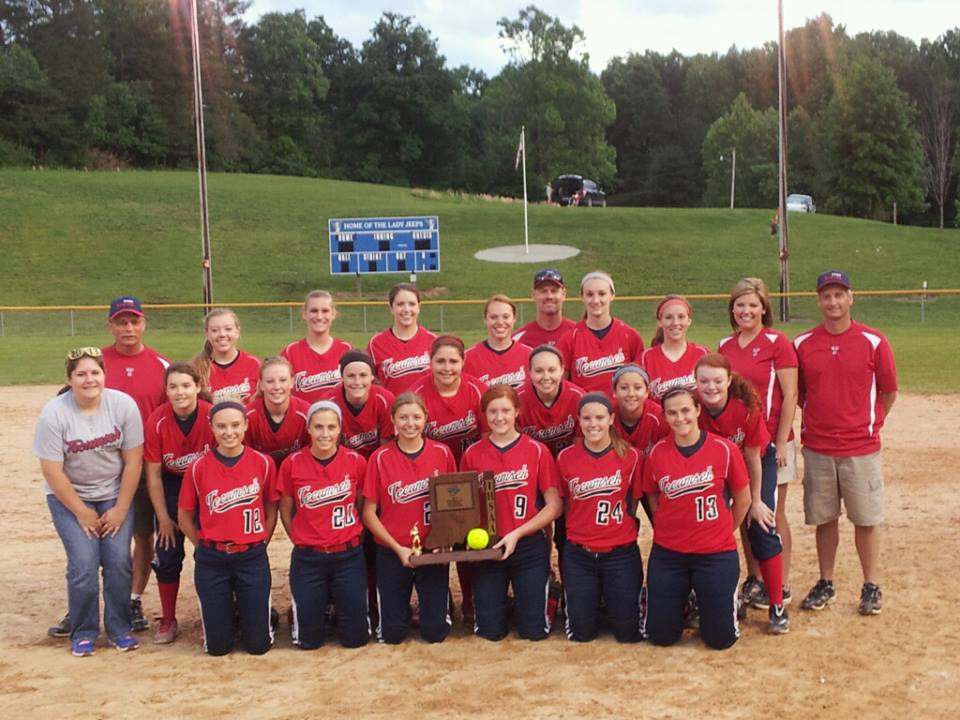
2013 Class A Sectional Champs! – photo courtesty of Margaret Herrell Patterson on Facebook
I am also proud to be a part of that journey – playing on the 2004, ‘05, ‘06, and ‘07 teams. My senior year we made it to the state championships and that was one of my overall best sports memories from high school.

Me with the State Runner-Up trophy!
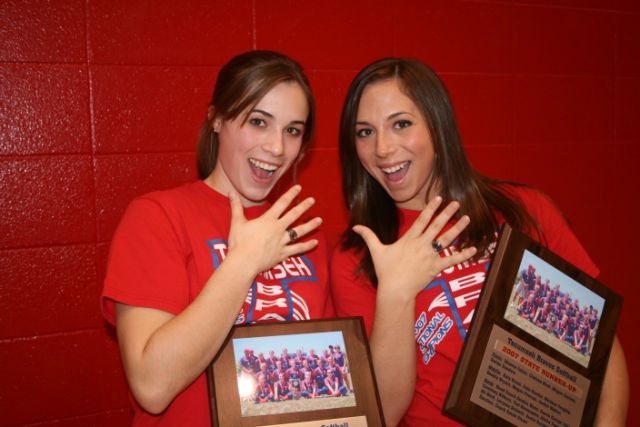
I was also fortunate enough to get to play with my sister during my senior year. She was a freshman that year and it was exciting to get to play on the same team.
You might be thinking, what’s their secret? How can they keep up the wins for 11 seasons? Some people might say that there isn’t much competition with only four teams in our bracket, but I remember busting our butts to win those titles.
Here’s the secret: sure, we’ve had some great talent come through the program over the years but in sports – as in life – you can’t just rely on talent alone. It takes hard work, hours and hours of practices, and most importantly – GREAT COACHES!
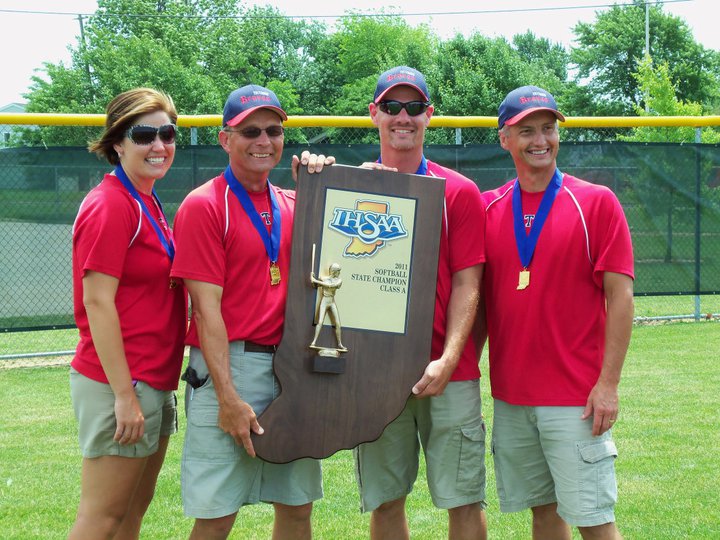
THS Coaches at 2011 State Championship. This was the only coaches pic I could find quickly, but my shout out and thanks is to ALL the great coaches and assistant coaches from 2003 – 2013!
We never could have made it to State, or reached the accomplishment of 11 consecutive sectional wins, without the help of seriously phenomenal coaches.
And I’m proud to say that some of the things I learned in softball from these coaches made me a better person, and will stick with me for the rest of my life.

Gordon Wood – the man from which a lot of this advice came from. He was assistant coach and then took over as head coach my senior year. He has the great ability to recognize talent and potential and works to bring out the best in each of his players. Thanks for all of your support, coaching and advice over the years Gordon!
3 LIFE LESSONS FROM SOFTBALL
“If you’re 5 minutes early you’re on time, if you’re on time you’re late.”
I’ll admit to being late on some occasions, but I was NEVER late to softball practices or games. Especially as seniors, we were the first ones there and the last ones off the field. Coaches always said if we were late, we were wasting our own time, along with everyone else’s.
“If you’re not covered in dirt, you didn’t work hard enough.”
This means diving for balls, sliding into the bases, and going 110% from start to finish. My parents probably didn’t enjoy doing my laundry during softball season but that dirt on my clothes represented hustle and hard work – and that’s something to be proud of.
“Don’t cut corners!”
I’m sure the coaches said this too, but one specific memory was a senior when I was a freshman, Kathy Wood, who always said this when we were running. It came from practice in the gym running around the basketball court and not to run inside the lines but it’s something that applied to all aspects of the game, and life in general. Everyone is always trying to get ahead in this world but you don’t get any stronger or grow as a person by cutting corners in anything.
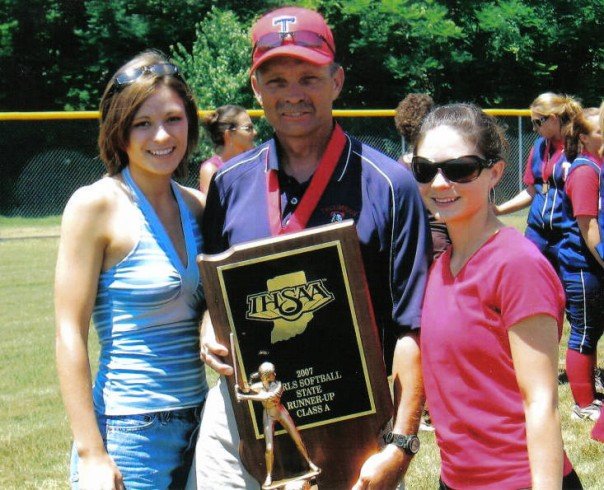
Gordon with his daughters, Kathy (L) and Julie (R) after the 2007 State game. All three are great role models and have worked hard to build the Tecumseh Softball program into what it is today.
(photo courtesy of Kathy from Facebook)
I am thankful to have learned these very valuable life lessons during my years in Tecumseh softball, and I want to thank everyone who has been a part of the THS softball program. Coaches, players, and even parents – we all worked together, supported each other, and have ultimately reached a tremendous accomplishment – 11 sectional wins!
And to the current Lady Braves – keep these things in mind as you continue in the tournament! Seniors – be the leaders, inspire your fellow teammates, and listen to your coaches. You are learning from some of the best coaches in the state so don’t take them, or this chance to go to State, for granted!
Congrats to Tecumseh Lady Braves on your win and keep winning so I can come watch you in Indy!

Tecumseh Lady Braves 2011 State Champions
Share this:


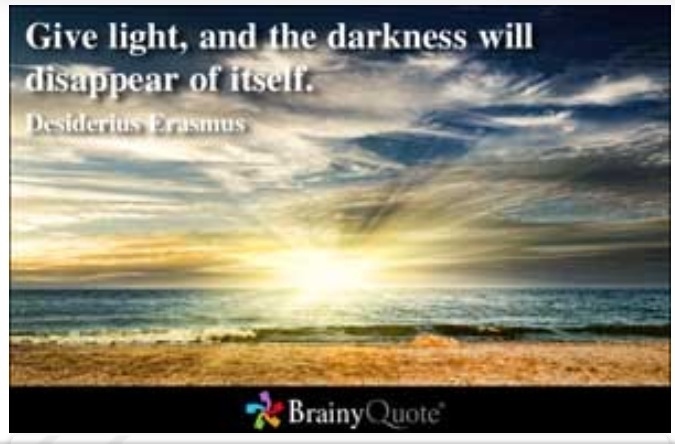
Light Through The Boston Marathon Darkness

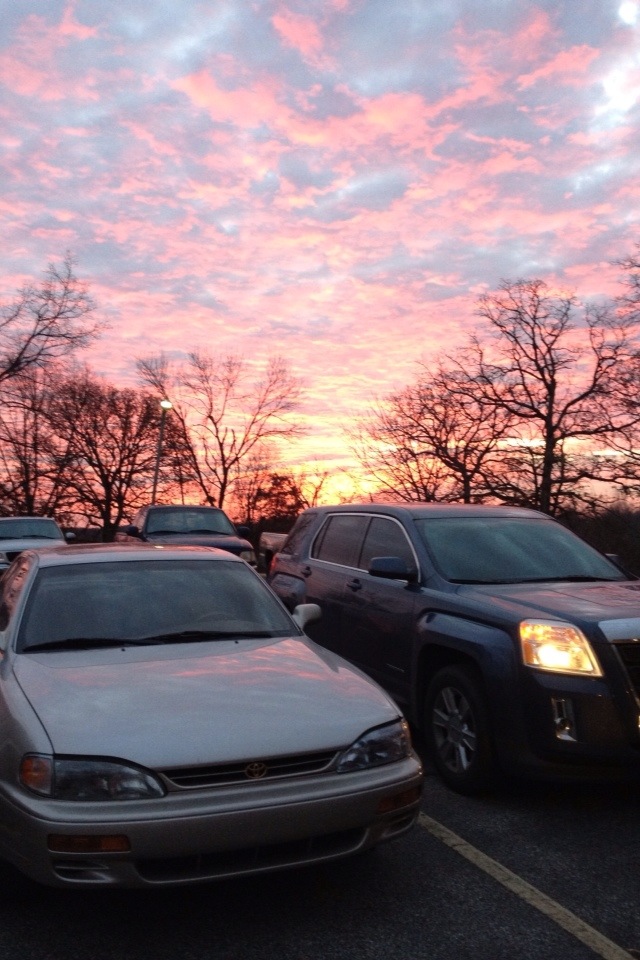
I saw a rainbow on the way home from work today.. and with the sadness today in Boston filling my mind, it helped remind me that no matter how dark of a storm comes through, there is always light after the rain.
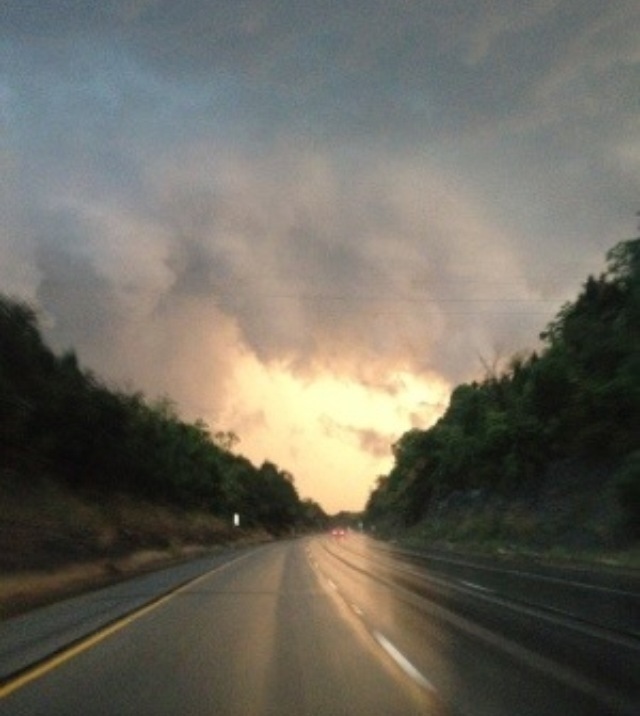
Even though there was so much unnecessary tragedy today, I couldn’t help but notice how many people sprung into action to help those in need! Thank you to all of you who helped the victims and are working to give them some light in their time of darkness!
My thoughts and prayers are with all those involved and I hope they can make it through this darkness and still see that there is light in the world, even if a few clouds try to cover it up!
***UPDATE: After posting this yesterday, it makes me so inspired that so many people are displaying the “light” mentality and are looking to overcome the darkness of yesterday! Of course, the sadness for all the victims is still very present, but I found several great stories and posts on social media of people supporting everyone involved and asking what they can do to help. Here are some links of uplifting stories and inspiring social media posts.
USA TODAY: Overwhelming Kindness Follows Boston Marathon Blast
USA TODAY: Former New England Patriot carries woman to safety after Boston Marathon explosion
CNN: Bostonians and others rush to support stranded visitors
Back To Her Roots: Confessions…


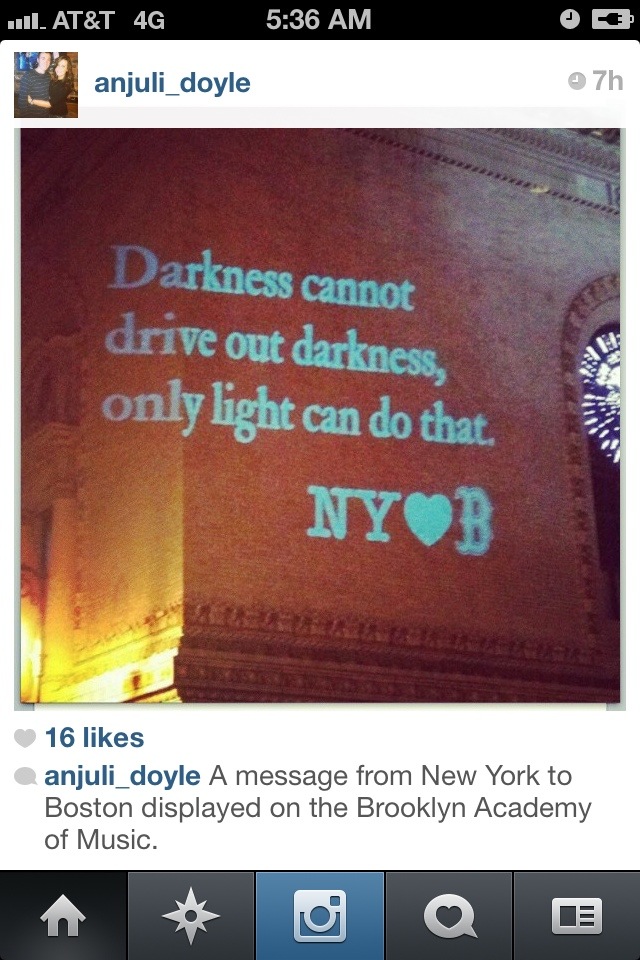

So PROUD to be part of such a great country! #PrayForBoston
Share this:


National Ag Day – My #AgProud Story
Today is National Ag Day!
National Ag Day was started by Agriculture Council of America (ACA) which is an organization uniquely composed of leaders in the agriculture, food and fiber communities dedicated to increasing the public awareness of agriculture’s vital role in our society. The Agriculture Council of America and the National Ag Day program was started in 1973.

It’s a day of recognition – for the farmers, ranchers, families, distributers, businesses, and people that make agriculture in our country so great!
It’s a day of support – for all of those involved in the agricultural industry and for all of the laws and policies that affect how their farms and businesses operate.
It’s a day of education – to promote the facts about agriculture and the process of how products get from the farm to your fork.
And it’s a day of pride – for all those involved in agriculture to share their pride for what they do, and help promote agriculture by sharing their story.
And today – I want to share my #AgProud story!
I originally wanted to write this post for a fellow blogger friend Ryan Goodman over at I Am Agriculture Proud a long time ago, but since I never published it, now seemed like the perfect time to share it with everyone!
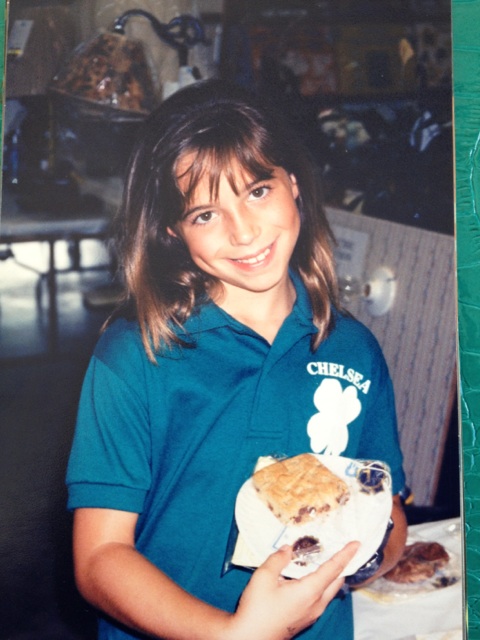
The story of BoilermakerAg starts in a small town in southern Indiana on my grandpa’s dairy farm.
This was where it all started. Where my roots are grounded and the homestead where my grandparents raised 12 children, dairy cows, and crops since 1949.
My parents didn’t directly farm but my aunt and uncle, along with my grandpa until he retired, ran the farm and babysat me during my very early years. From a very young age, I learned about the meaning of hard work, caring for animals, and the basics of farming.

Circa 1991 – Me with my Uncle Albert over at the farm. I was always right by his side and loved helping him with the cows!
Some of my favorite farm memories are helping deliver calves in the field with my uncle, helping bottle feed and care for calves, helping milk cows, and the smell of the milk house.
One specific memory was when I was helping my uncle on the farm and all of a sudden he said we had to jump in the truck and go up to the hill where a cow had started going into labor. The mom was having difficulty and if we didn’t get there fast, we could lose the calf, or the mom. We got there and he ended up having to “pull the calf” which is when the calf isn’t delivering in the right direction and you have to gently pull the calf out to help the mom with the process. Luckily, we got there just in time and both mom and calf were just fine. It was an incredible moment to witness and be a part of, and it was when I realized that I had a passion for animals and agriculture.
When the calves were a little older, they were moved into the barn into stalls where we could monitor them and bottle feed them. This was a favorite memory because as a little kid, it was fun to care for them and funny because they were all slobbery and it was like a little game with the calf sometimes to try to pull the bottle away from you.
The other best memory I have from that time is helping milk the cows and the smell of the milk house. Any time I ever visit a dairy farm, that smell is always so comforting and takes me back to my childhood days on the farm.

In 2008 Warrick County Fair my Grandpa Nord was inducted into the Warrick County Agriculture Hall of Fame. This was a very proud moment as I got to watch him receive this award during our 4-H livestock show.
I had agriculture running through both sides of my family too, but I didn’t learn about that until more recently in my life. My dad sells agricultural insurance and sold seed earlier in his career and my mom’s family was involved in agriculture as well.
My mom’s dad and grandpa actually grew seed corn in the 1950s and had a hog farm for a while until they opened a campground and hand-turned pottery store in the late 1960s.

My great grandpa Charles started the seed corn business and my grandpa Jim helped him growing up. These are some original seed bags from their seed corn company. What a cool piece of Ag history!
My grandpa still tells me stories about those times and its always so interesting to hear about that time period and how agriculture has changed since then.
From there my ag story continues with me being in 4-H and FFA and showing pigs at the county fair. I learned a lot about other species of livestock and this is where I got exposed to Purdue University – where I would later attend the College of Ag.
Here’s another throwback picture from me during my first year in 4-H. I ended up being a 10 year member and gained several of the valuable skills and qualities that help me in my career today.
Growing up in rural Indiana also gained me exposure to all areas of agriculture through my friends (if their families farmed) or through the extension service or 4-H.
But it wasn’t until going to college and starting my career where I learned just how fortunate I was to have grown up around agriculture and how it has helped me become the person I am proud to be today.
I ended up majoring in Agricultural Communication with a minor in Animal Science and now work in marketing at a seed corn company in central Indiana.
I get to interact with farmers all across the Midwest, hearing their stories and sharing them in our newsletter. I always enjoy these interactions because it can take me anywhere from the farmer’s kitchen table, farm shop, or even driving with them through the fields.
I always take these opportunities to really listen to their stories and make mental note of any advice they can give me or facts about agriculture that they have to share.
I had to leave my rural setting to live in the city, but my rural roots in agriculture haven’t, and never will, leave me.
I am Agriculture Proud because my families have been a part of agriculture for several generations, I have been taught the meaning of hard work, getting your hands dirty, and respecting the land and Mother Nature…because as a farmer, your livelihood depends on it.
I am Agriculture Proud to continue the involvement in agriculture within my family by sharing my stories and experiences in the ag industry.
I am Agriculture Proud to be associated with some of the nicest, most honest, passionate people on this Earth.
My agriculture story could go on for pages, but I hope this gives just a peak into why I am, and always will be AGRICULTURE PROUD!
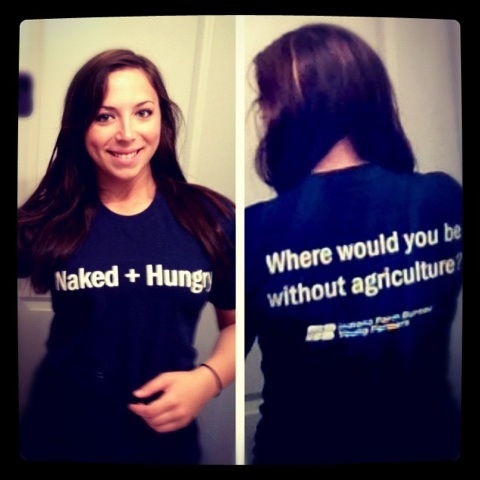
Where would you be without Agriculture?
What’s your Ag Proud story?
Share this:


Best Red Velvet Cake Recipe. Ever.
I must confess. I LOVE Red Velvet Cake. To be honest, I’m kind of a diva when it comes to my Red Velvet Cake…but this you see, is because I have been spoiled my whole life by the best red velvet cake recipe…ever! Some may beg to differ, but this recipe has been passed on for four generations in my family and out of all red velvet cakes I’ve ever had, this is my absolute favorite. So much so that ever since I can remember, I have requested it for my birthday. And bless my mom’s heart for making me one every year because its not the quickest recipe. But the labor is totally worth it! (Thanks for all those year’s mama, by the way) 🙂

Here I am goofing around with the fun decorations my mom made to go on my birthday cake last year. We make it a double layer cake – this means more icing! See technique on how to create this pretty double layer cake below.

My birthday is on Christmas so the red is always a festive color to go along with the season.

We also make it on Thanksgiving because my sister’s birthday is around that time and also because my great Grannie Griffin (pictured here – she lived to be 97) also loved it and this is her recipe.
Anyway, I was asked to share this recipe with a fellow blogger and lover of all food, Lauren, of HallNesting so I thought I would just share it with everyone! While we typically make this for Christmas, since it is red, it could totally work for Valentine’s day as well if you want to make a special treat for someone!
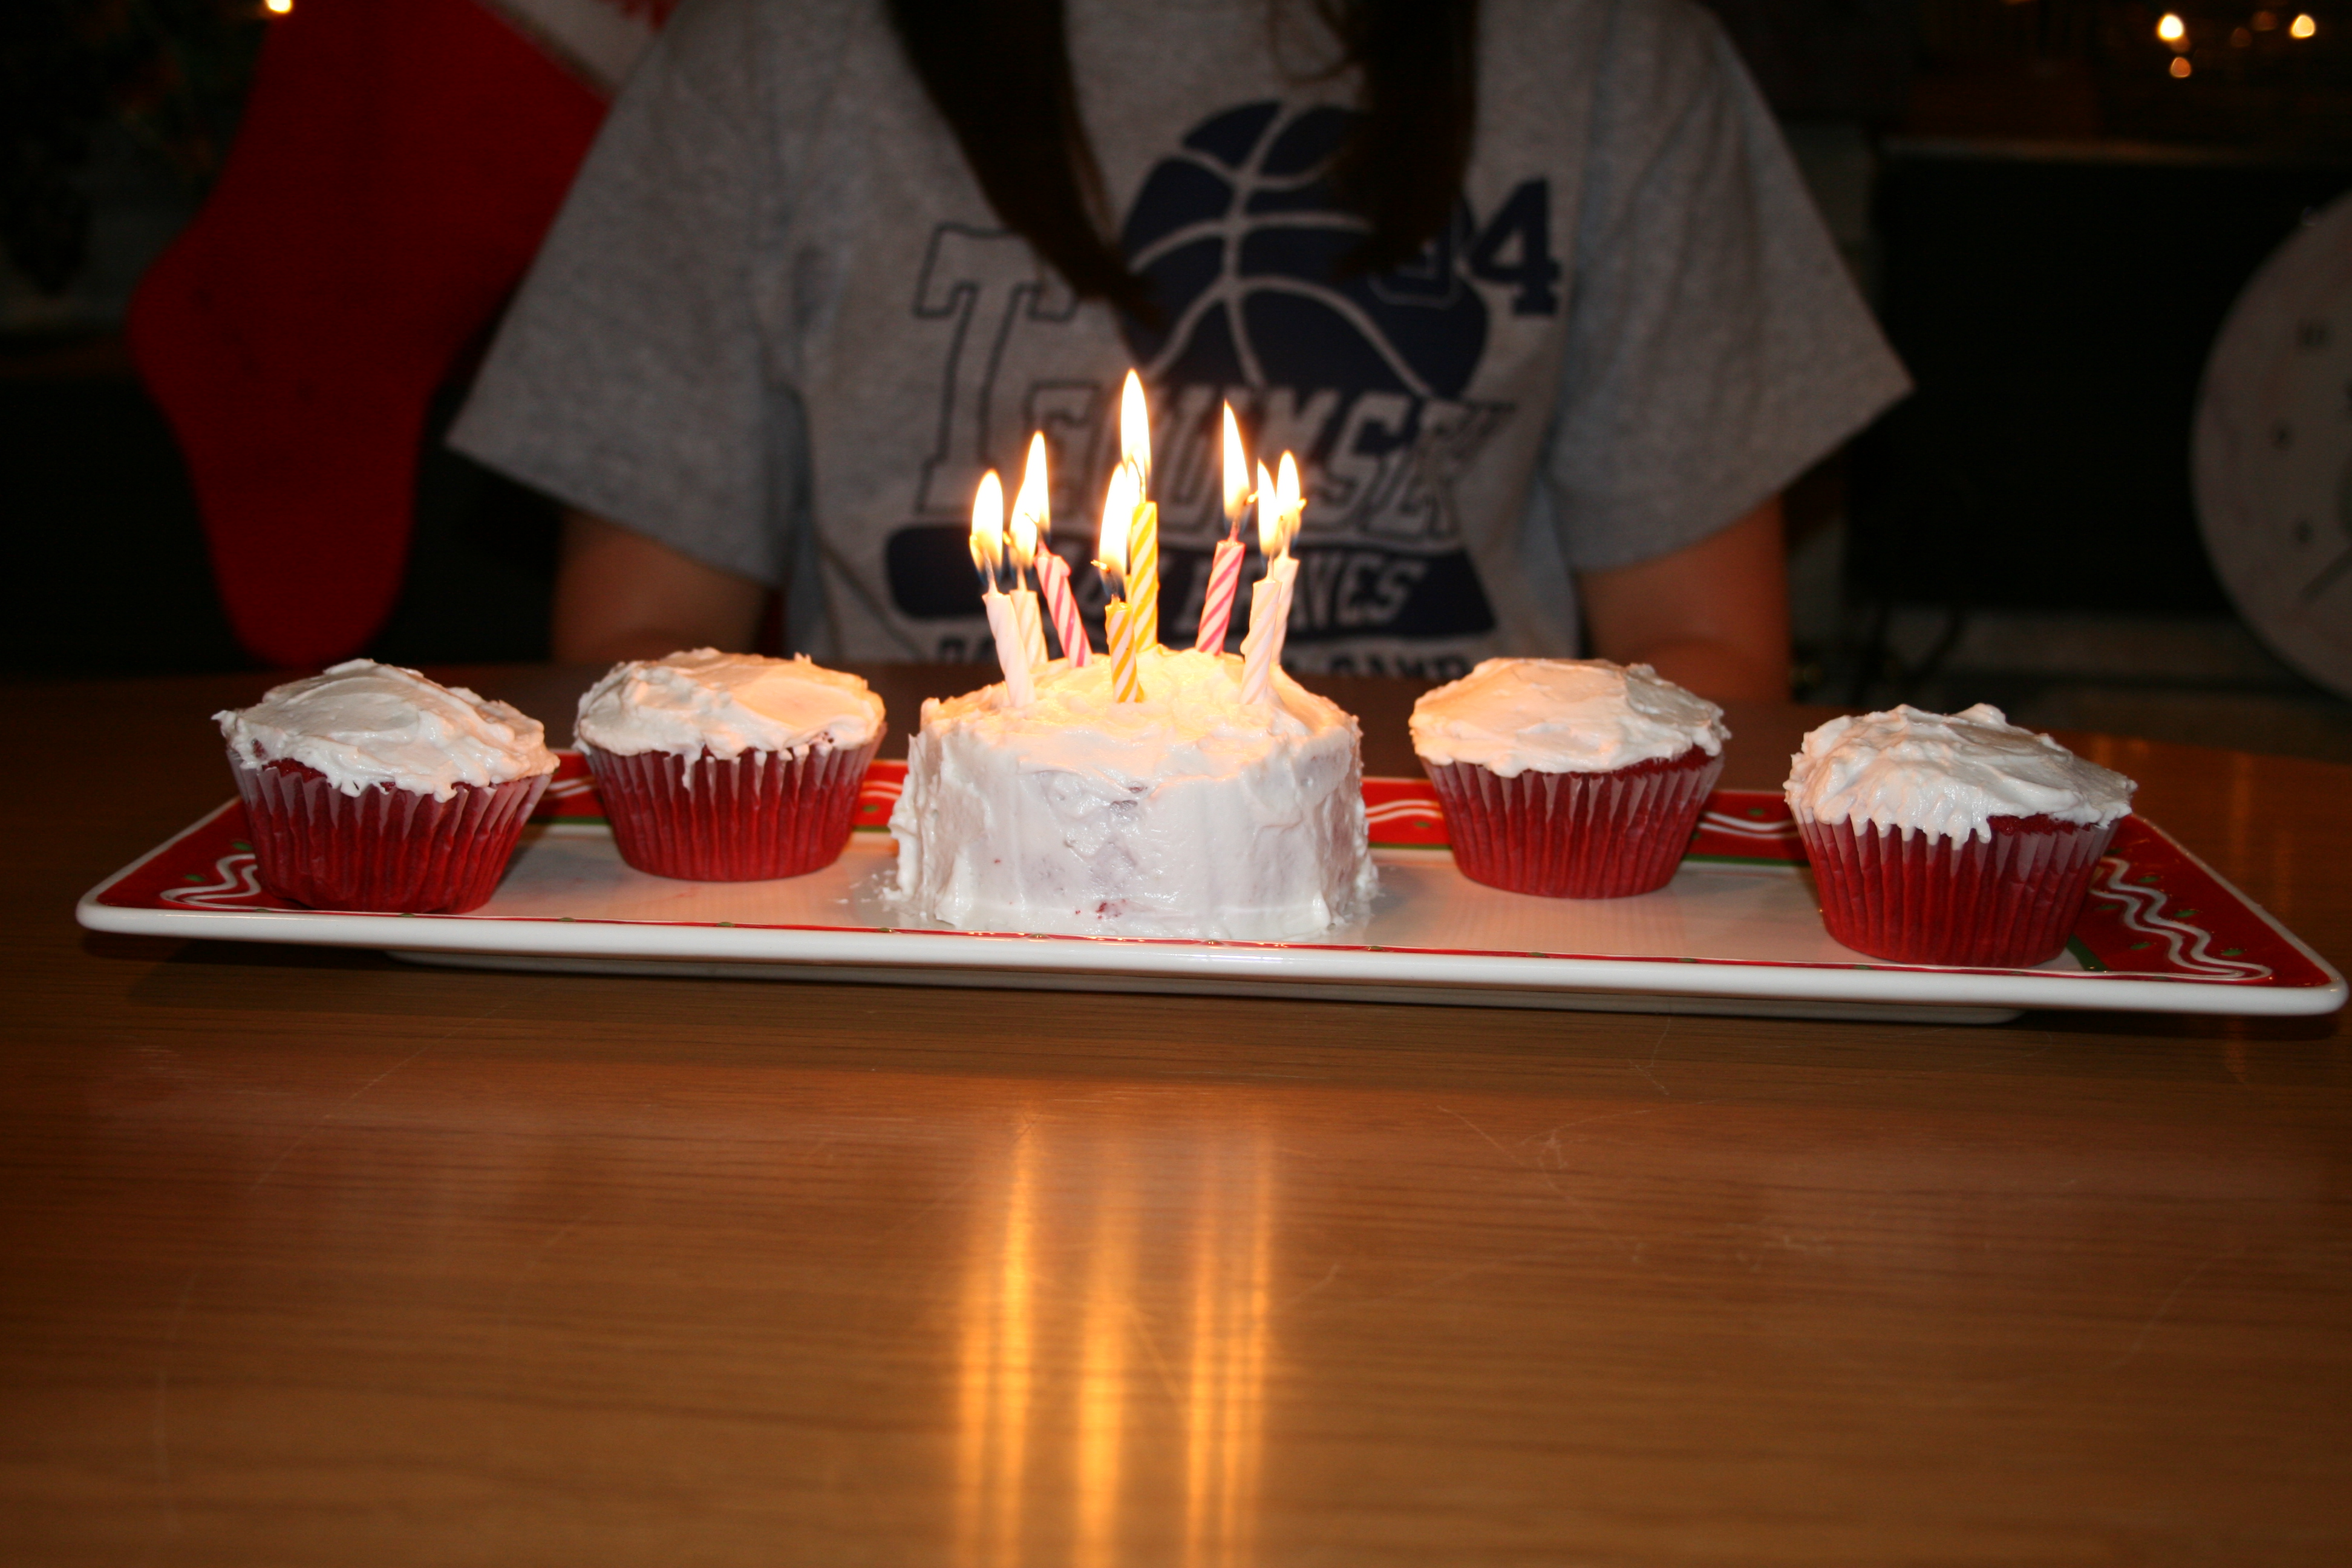
Sometimes my mom makes me a small cake and cupcakes with the left over batter. All of these pictures make me want to go make the recipe myself! Ugh, must resist…haha
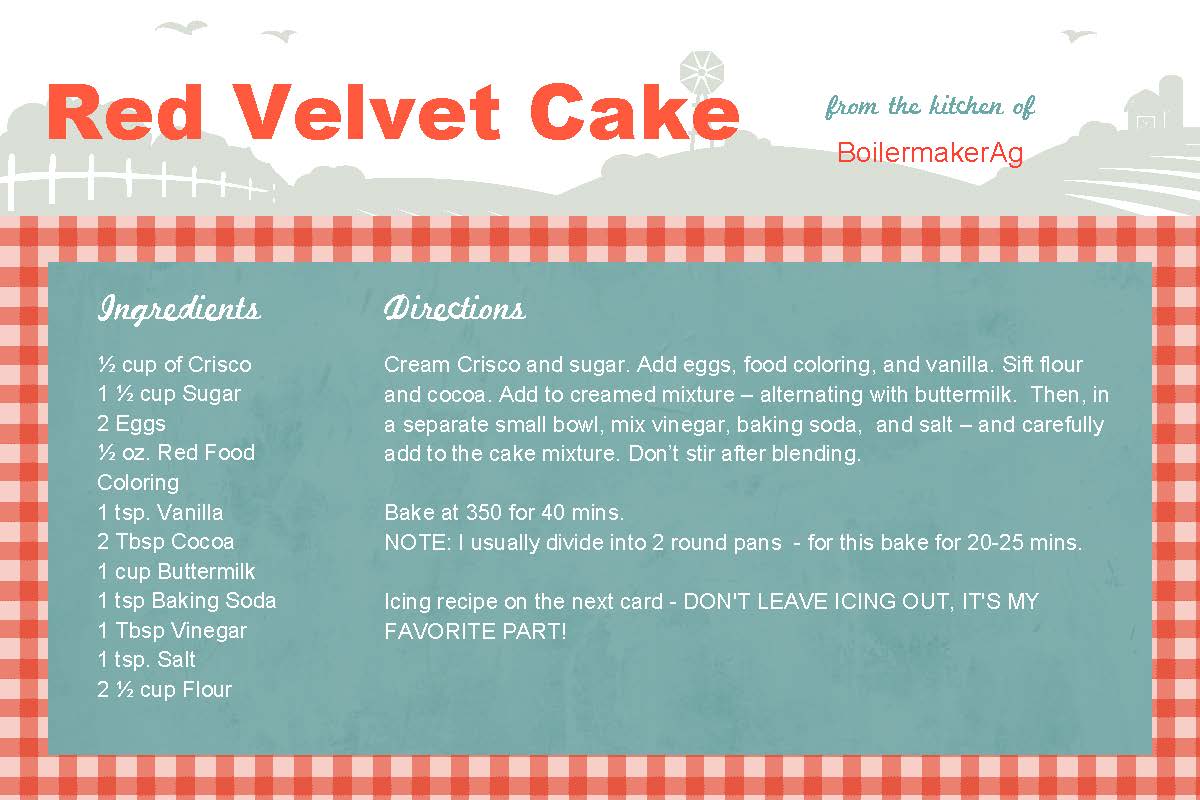
Red Velvet Cake
By Chelsea Nord – Old Family Recipe
Cake Ingredients:
½ cup of Crisco 1 ½ cup Sugar
2 Eggs ½ oz. Red Food Coloring
1 tsp. Vanilla 2 Tbsp Cocoa
1 cup Buttermilk 1 tsp Baking Soda
1 Tbsp Vinegar 1 tsp. Salt
2 ½ cup Flour
Cake Directions:
Cream Crisco and sugar. Add eggs, food coloring, and vanilla. Sift flour and cocoa into a separate bowl.. Add to creamed mixture – alternating with buttermilk. Then, in a separate small bowl, mix vinegar, baking soda, and salt – and carefully add to the cake mixture. Don’t stir after blending. Bake at 350 for 40 mins. (I usually divide into 2 round pans – for this bake for 20-25 mins.)
NOTE: If you want to make this into a double layer cake, spray two 9 inch cake pans with non-stick spray and then cut out circles of wax paper to line the bottom of each pan. This makes the process of removing them from the pan much easier and your cake won’t fall apart.
Icing Ingredients:
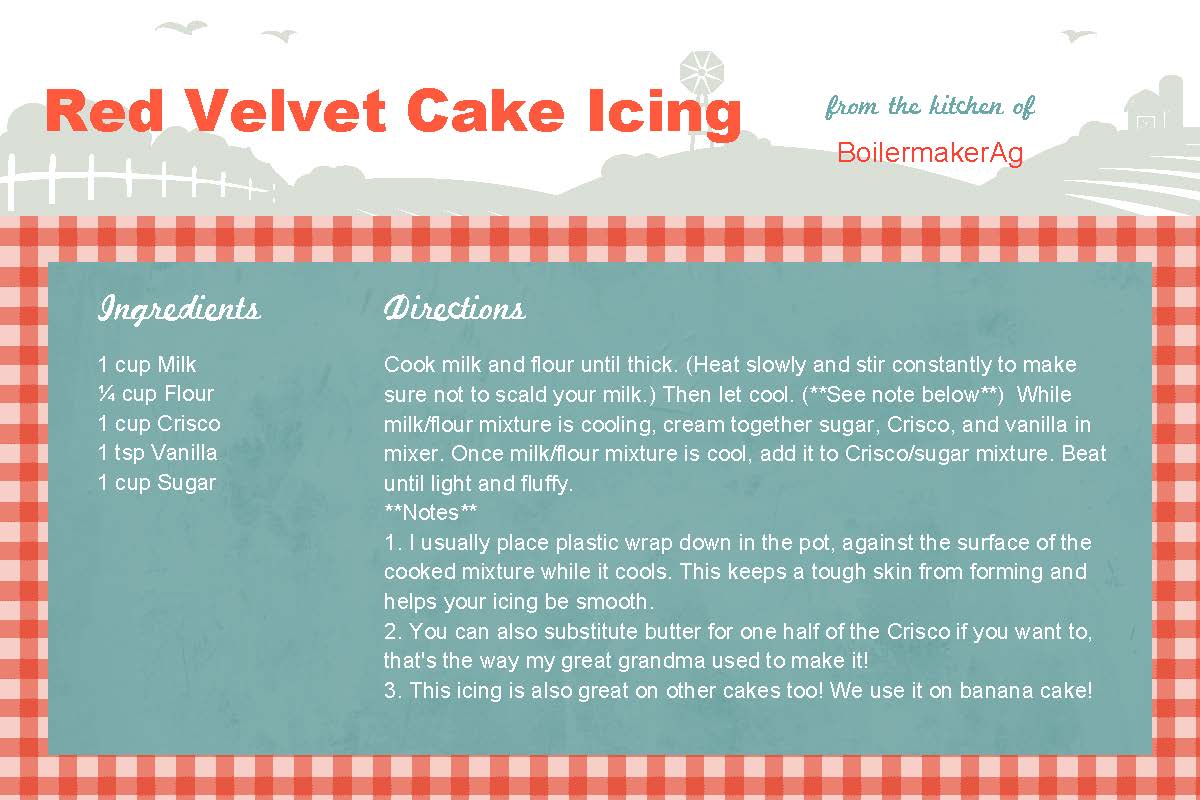
1 cup Milk ¼ cup Flour
1 cup Crisco 1 tsp Vanilla
1 cup Sugar
Icing Directions:
Cook milk and flour until thick. (Heat slowly and stir constantly to make sure not to scald your milk. ) Then let cool. (**See note below**) While milk/flour mixture is cooling, cream together sugar, Crisco, and vanilla in mixer. Once milk/flour mixture is cool, add it to Crisco/sugar mixture. Beat until light and fluffy.
As mentioned, we make this a double layer cake so after cakes are cool, run a knife around the edge of the cake pan to loosen it, then use an additional sheet of wax paper and flip the cake upside down onto it, gently pull off the cake pan and wax paper, and use both hands, one on top and bottom of the cake, to flip it back right side up. Make sense?
To ice the cake, we put a layer of icing in between the two layers, then ice all around the outside and top of the cake to finish. My sister is the best at this technique!
**Notes**
-
I usually place plastic wrap on the surface of the cooked mixture while it cools. This keeps a tough skin from forming and helps your icing be smooth. This part may be tricky, please ask me if you are confused!
-
You can also substitute butter for one half of the Crisco in the icing if you want to, that’s how my great grandma used to make it! But we like it without butter because it’s a little lighter and fluffier. Up to you though!
Here are some printable recipe cards if you would like to save this recipe for your collection!
Is red velvet cake a tradition in any of your families? I’d love to hear about it!
Also, if you try this recipe, let me know how it turns out! I can also help with any questions that might come up! ENJOY!


